.avif)
.avif)
.avif)
How to Install Cellular Shades: A Delmarva Homeowner's Guide
- Johann Reardon

- Nov 10, 2025
- 11 min read
TL;DR: Installing cellular shades is a popular DIY project that involves precise window measurements, secure bracket installation, and snapping the headrail into place. For a perfect fit, always measure the window's width in three spots (top, middle, bottom) and use the narrowest dimension. Whether you choose an inside mount for a clean look or an outside mount to make windows appear larger, leveling the brackets is crucial. For homeowners on the Delmarva Peninsula who prefer professional results without the hassle, Home Blinds & Floors offers expert installation and free in-home consultations.
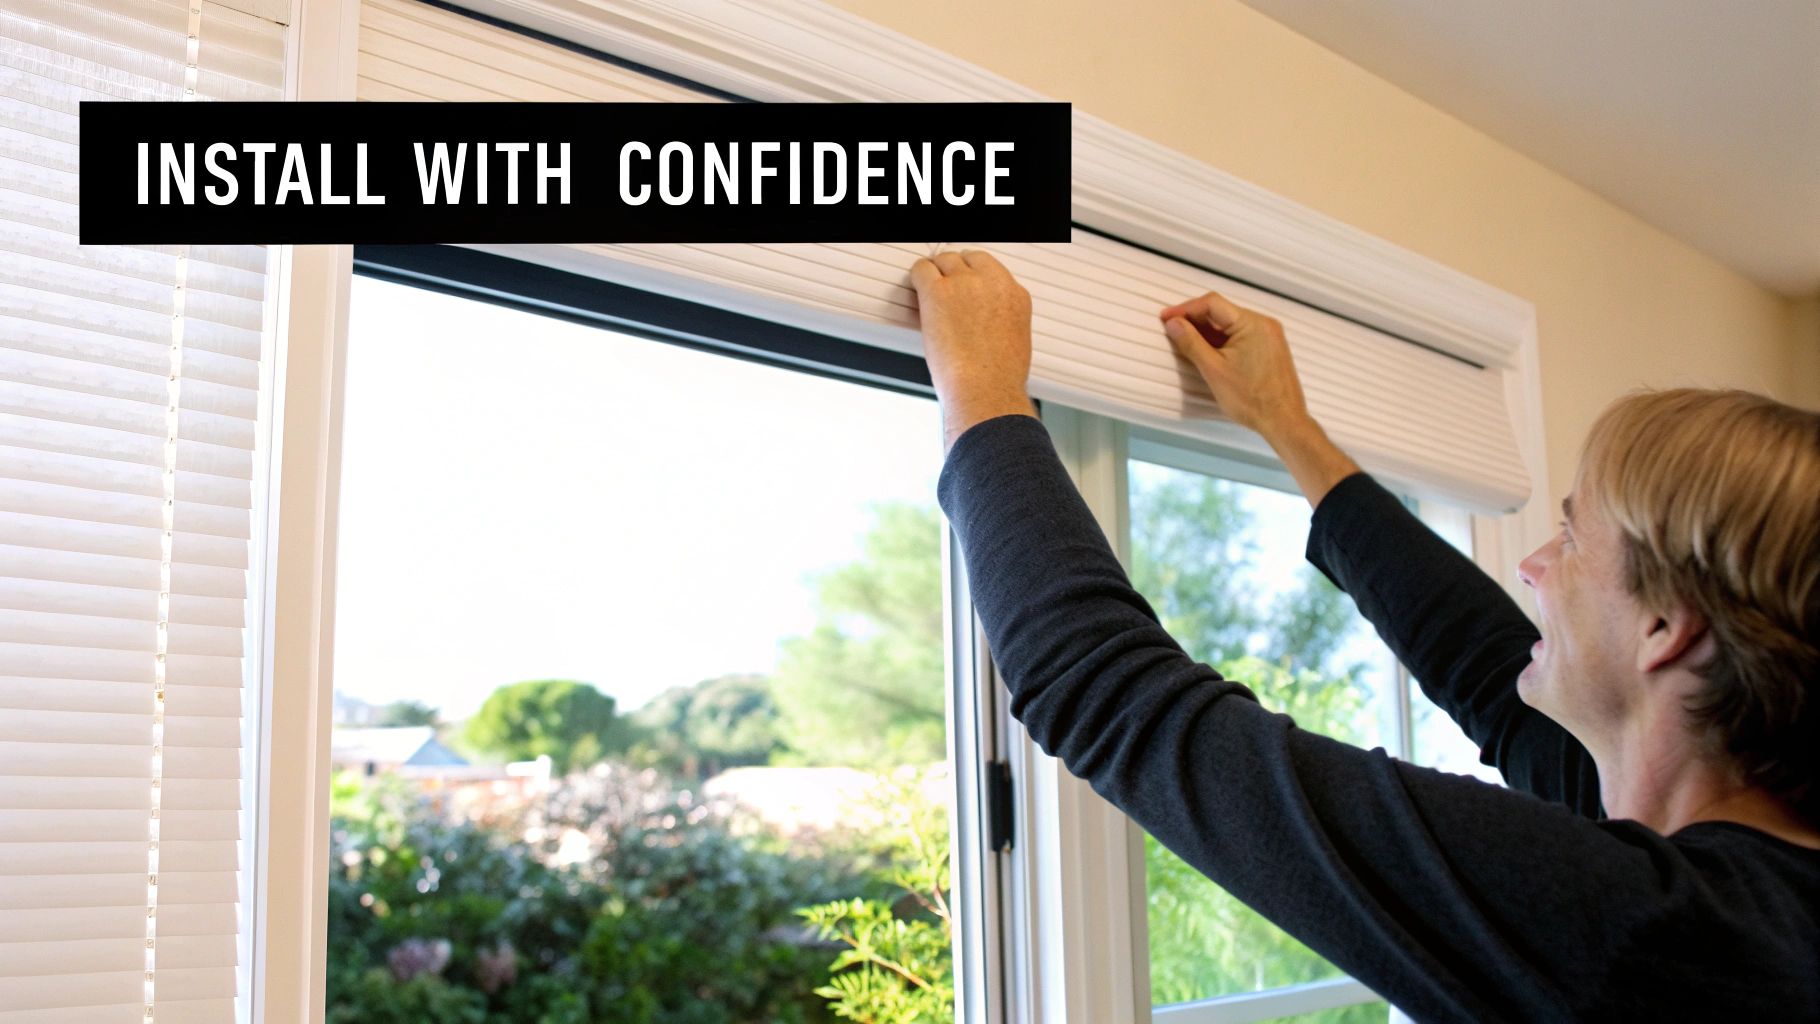
Your Guide to a Flawless Shade Installation
Thinking about upgrading your windows with sleek, energy-efficient cellular shades? At Home Blinds & Floors, we’ve helped countless homeowners from Salisbury to Rehoboth Beach get that perfect fit, and a successful project always starts with a solid plan. Whether you're a weekend warrior or new to home improvement, this guide provides the roadmap for a smooth and professional-looking installation.
Before you even pick up a drill, it's a good idea to get familiar with the different types of doors and windows you might be working with. Every window frame has its quirks, and knowing what you're up against is the first step to a flawless finish.
Why So Many People DIY Cellular Shades
It’s no surprise that installing cellular shades has become a go-to project for homeowners. Their straightforward mounting systems make them one of the easiest window treatments to put up yourself.
In fact, residential homes account for over 55% of all cellular shade sales. And more than 57% of the market is made up of retrofit installations—meaning folks are actively swapping out old treatments for these newer, more efficient shades. It just goes to show you don't need a major renovation to boost your home's energy efficiency and get a fresh look.
One of the biggest draws is their energy savings. That unique honeycomb design traps air, creating an insulating layer that helps keep your home comfortable year-round. But picking the right one matters. Check out our guide on https://www.homeblindsandfloors.com/post/single-cell-vs-double-cell-cellular-shades-a-guide-for-delmarva-homes to figure out what’s best for your space.
To give you a bird's-eye view, here's a quick breakdown of the process.
| Cellular Shade Installation at a Glance || :--- | :--- | :--- || Stage | Objective | Key Tip || Preparation & Measuring | Get accurate window dimensions and gather all your tools. | Always measure in three places (top, middle, bottom) and use the smallest measurement. It saves headaches later! || Bracket Installation | Securely attach the mounting brackets to the window frame or wall. | For inside mounts, make sure your brackets are deep enough for the headrail to clear any window cranks. || Hanging the Shade | Snap the headrail into the brackets and test the shade's operation. | Listen for a solid "click" when snapping the headrail in. If it feels loose, it's not secure. |
This table simplifies the journey, but of course, the devil is in the details, which we'll cover next.
Home Blinds & Floors offers a wide selection of custom blinds and shades in Delmarva, with expert installers who bring the showroom to your living room. While doing it yourself is incredibly rewarding, our team is always ready to step in if you'd rather leave it to the pros for a perfect outcome without any of the stress.
Essential Tools & Measurements for Cellular Shades
Any good installation starts long before you ever pick up a drill. If you want a professional-looking result, the secret is all in the prep work—getting your tools together and, most importantly, taking dead-on accurate measurements. Nailing this part of the process saves you from the headache of a shade that’s too wide, too narrow, or just hangs crooked.
The Toolkit You'll Actually Need
Before you start, get your tools laid out. You don’t need a full workshop, but having these specific items ready will make the whole project go a lot smoother.
Here’s your go-to list:
A Steel Tape Measure: This is non-negotiable. A cloth or plastic one can stretch or sag, throwing off your numbers. Trust me, stick with steel for accuracy.
A Pencil: Simple, but essential for marking where your brackets will go.
A Power Drill with Bits: You'll likely need a Phillips head bit for the screws or a 1/4" nut driver, depending on the hardware that comes with your shades.
A Level: Absolutely critical, especially for an outside mount. It’s the only way to be sure your shade will hang perfectly straight and not at a maddening angle.
A Step Ladder: Unless you're seven feet tall, you'll need this to safely reach the top of your windows.
The Golden Rule: Measure Three Times, Order Once
This is the single most important step. Being off by even a quarter of an inch can be the difference between a shade that looks custom-made and one with an awkward gap. To get it right, always measure your window opening three times for both the width and the height.
For the Width:
Measure across the top of the window frame, from one inside edge to the other.
Do it again across the middle.
And one last time across the bottom.
Don't be shocked if you get three slightly different numbers—most window frames aren't perfectly square. For an inside mount, you always use the narrowest of the three width measurements. This is key to making sure the shade glides up and down without scraping the sides.
For the Height:
Measure the height down the left side of the window frame, from the top to the sill.
Measure down the middle.
Finally, measure down the right side.
For an inside mount, you'll want to use the longest of these three height measurements to make sure you get full coverage. For a really detailed breakdown of all the little things to watch out for, check out our guide on how to measure for blinds and shades.
Pro Tip: Always write down your measurements as Width x Height (W x H). It's the industry standard and a simple way to avoid mixing up your numbers when it's time to order.
Inside Mount vs. Outside Mount: Choosing for Your Delmarva Home
Next, you have to decide: are you doing an inside mount or an outside mount? An inside mount fits snugly right inside the window casing for a clean, built-in look. An outside mount, on the other hand, is installed on the wall or trim above the window. This can make the window feel bigger and is the perfect solution when a window frame is too shallow for an inside mount.
Speaking of which, you need to check your window's depth. Most cellular shades need at least 1.5 to 2 inches of flat surface inside the frame to securely install the brackets. If you don't have that, an outside mount is the way to go.
As a local, family-run business, Home Blinds & Floors provides personal service, competitive pricing, and professional installation throughout Sussex, Wicomico, Kent, and beyond. If you're not sure which mount type is right, we can walk you through the options during your free consultation to make sure the final look is exactly what you envisioned for your home.
Step-by-Step: Installing Inside vs. Outside Mount Shades
Alright, you've done the prep work, your measurements are double-checked, and you've got your tools laid out. This is the fun part—seeing it all come together. Installing your new cellular shades is where the magic happens, turning that box on the floor into a sleek, functional upgrade for your window.
The path forward splits a bit here, depending on whether you chose an inside or outside mount. While the core idea is the same—get it level and secure—the specifics are a little different for each. Don't worry, a professional-looking result is well within your reach, whether you're in Easton or down in Ocean City. It just takes a little patience.
This graphic really breaks down the most critical part of the whole project: getting the measurements right from the start.
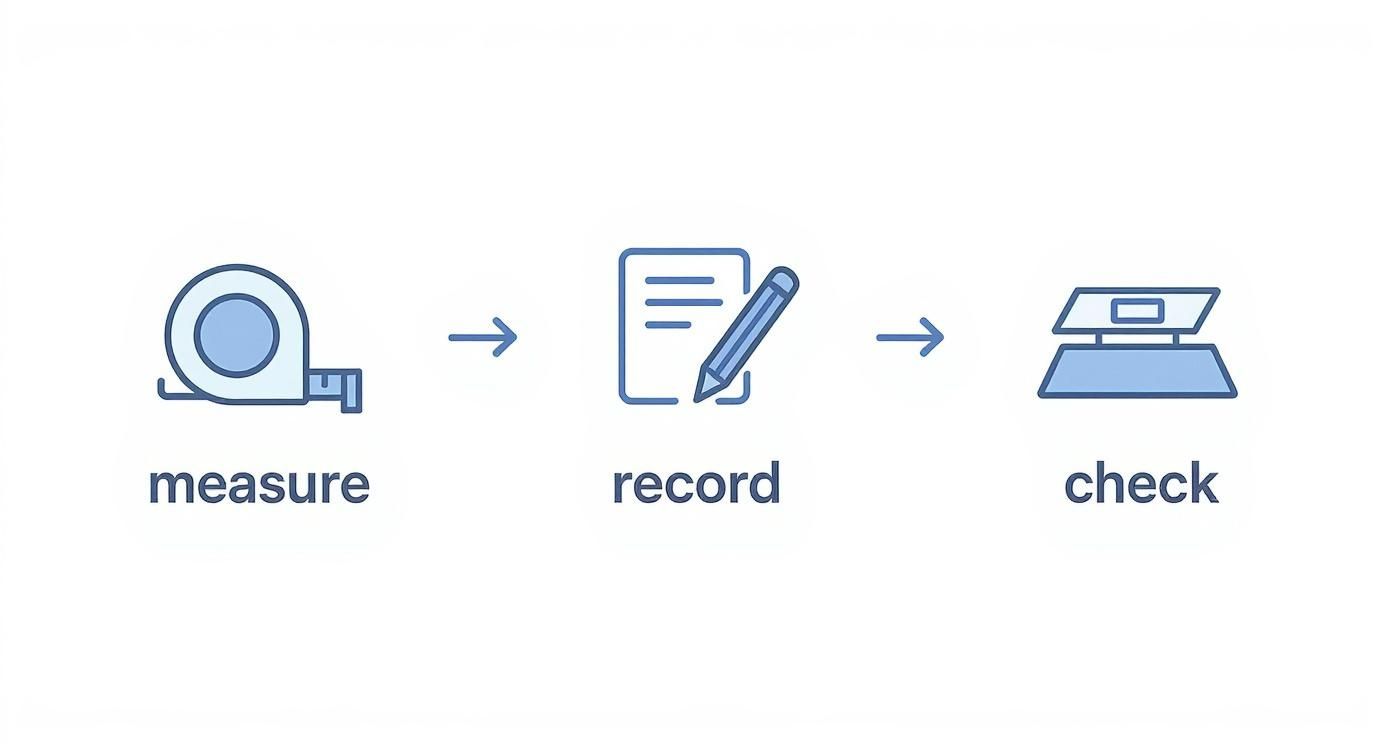
It's a simple flow, but one we live by: measure with precision, write it down clearly, and then check it all again. That foundation is what makes the installation itself go smoothly.
Mastering the Inside Mount Installation
An inside mount gives you that clean, custom-fit appearance, with the shade tucked neatly inside the window casing. The whole game here is positioning the mounting brackets correctly at the top of the window frame. You want them spaced evenly and set back just far enough so the shade can move freely without snagging on locks or cranks.
First, figure out where your brackets will go. A good rule of thumb is to place them about three inches in from each side of the frame. If you have a wider shade that came with a center support bracket, just pop that one right in the middle. Hold a bracket up and use your pencil to mark the screw holes. Before you drill, take one last look. Will the shade clear everything? Once you’re confident, drill small pilot holes on your marks. This pro tip makes driving the screws a breeze and keeps the wood from splitting. Then, fasten the brackets securely.
Crucial Tip: For an inside mount, your brackets must be perfectly aligned front-to-back. If one is even slightly farther back in the frame than the other, the headrail will fight you when you try to snap it in, and the shade will never hang quite right.
Executing a Flawless Outside Mount
The outside mount is your best friend when the window frame is too shallow or when you want to create the illusion of a bigger window. With this method, your brackets go on the wall or trim above the window. Your level is absolutely non-negotiable for this job; it's all on you to get it straight.
Start by deciding how high you want the shade to sit. Going two to three inches above the window frame is pretty standard. Use your pencil and level to draw a very light, perfectly straight line across the top—this will be your guide. Mark where your brackets will go along that line, again keeping them about three inches in from the outer edges of the window trim. If you're drilling into drywall (and not a stud), you must use drywall anchors to hold the shade’s weight. Drill your pilot holes, tap in the anchors, and screw the brackets on tight.
From free in-home consultations to flawless installation, Home Blinds & Floors takes the stress out of selecting window treatments. Our team can help you determine if an inside or outside mount will best achieve the look you’re going for in your Delmarva home.
The Final Step: Snapping the Headrail in Place
You're on the home stretch! With the brackets securely in place, the last move is often the easiest and most satisfying. Pick up the shade's headrail and line it up. For most designs, you’ll hook the front edge of the headrail into the front lip of the brackets first. Then, push the back of the headrail up firmly until you hear a solid click. That audible snap from each bracket is the sound of success—it means the shade is locked in and secure.
Give the headrail a gentle downward tug to make sure it's fully seated. If it feels wobbly, one of the brackets probably didn't engage. Just release it and try again. Once it’s solid, raise and lower the shade a few times to make sure it's operating smoothly.
Keep in mind that specialty windows, like angled ones, can add a few extra wrinkles to the installation. We cover those unique situations in our detailed guide on installing shades for angled windows.
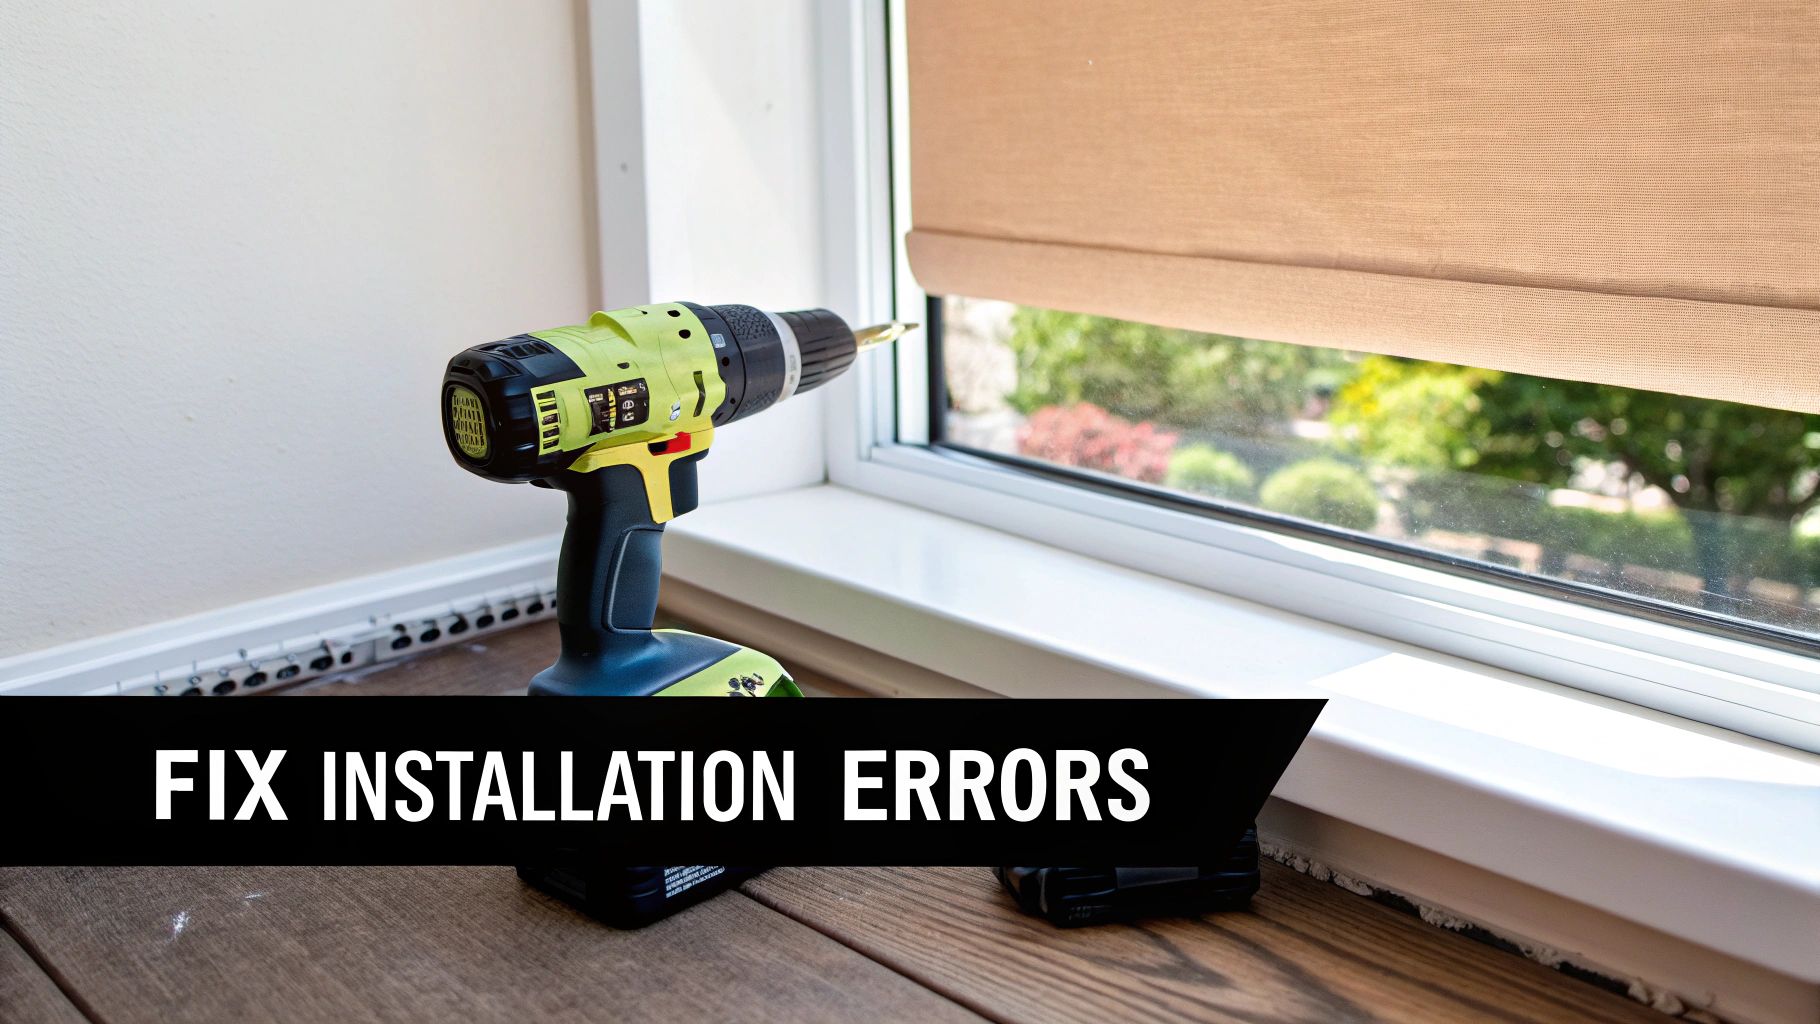
Common Mistakes and Troubleshooting Your Installation
Even the most careful DIYer can run into a snag when installing cellular shades. Don't worry—most of these little headaches are completely fixable. Knowing what to watch out for is half the battle and can save you a lot of frustration.
The Shade Doesn't Fit the Window
This is the big one—the problem that makes your heart sink. This almost always traces back to a tiny misstep during the measurement phase.
The Fix: If a shade is cut too wide for an inside mount, there’s no easy fix besides reordering. If it's a bit too narrow, you might salvage the situation by switching to an outside mount, but prevention is key.
How to Prevent It: Always measure the window width at the top, middle, and bottom. Then, use the narrowest of those three numbers for your order. This simple trick is the best insurance against a bad fit.
It Hangs Crooked or Lifts Unevenly
You pull the shade down, and it hangs at a slight angle. Or maybe it bunches up on one side when you try to raise it. That’s a tell-tale sign that your mounting brackets aren't level.
The Fix: Pop the shade out of the brackets and grab your level. Check the brackets themselves. Loosen the screws on the lower bracket just enough to nudge it into the correct position, then tighten everything back up.
How to Prevent It: Never eyeball it. For an outside mount, always use a level to draw a faint guide line before you even think about drilling. For an inside mount, make sure both brackets are pushed back to the same depth.
Wrong Drill Bit or Fasteners
This mistake can cause real headaches. Using a drill bit that’s too big means the screw won't have anything to bite into. A bit that’s too small can cause the wood frame to split when you drive the screw in.
The Fix: If the hole is too big, you can sometimes get away with a larger screw or add a wall anchor. If the wood has split, a dab of wood filler can help patch it up.
How to Prevent It: Your best friend here is a pilot hole. Drill a hole that is slightly smaller than the diameter of your screw. This gives the screw a perfect path to follow without damaging the wood or drywall.
Dealing with these issues on your own can be frustrating. Understanding some of the common blind installation and repair challenges can help you know when it’s time to call in a professional. Home Blinds & Floors takes the stress out of the entire process, ensuring every detail is perfect.
Frequently Asked Questions About Installing Cellular Shades
Can I really install cellular shades myself?
Yes, for most standard rectangular windows, installing cellular shades is a great DIY project. The process is straightforward if you're comfortable with basic tools and careful with your measurements. However, for large, high, or unusually shaped windows (like arches or skylights), or for complex motorized systems, professional installation is recommended to ensure a perfect fit and flawless operation.
What is the difference between an inside mount and an outside mount?
An inside mount fits the shade neatly within the window casing for a clean, built-in look. This is the most common choice, but it requires your window frame to have sufficient depth for the mounting brackets. An outside mount places the shade on the wall or trim above the window, which can make the window appear larger and provides better light blockage. It's the ideal solution for windows with shallow frames.
How do I clean my new cellular shades?
Cellular shades are easy to maintain. For regular upkeep, use the brush attachment on your vacuum with low suction to gently remove dust from the honeycomb cells. For minor stains, you can spot-clean with a damp cloth and a small amount of mild soap. Always blot the stain gently—never rub—and test the solution on an inconspicuous area first.
What cities in Delmarva do you serve?
Home Blinds & Floors proudly serves homeowners and businesses across the entire Delmarva Peninsula. Our service areas include communities throughout Delaware (like Rehoboth Beach, Lewes, and Bethany Beach), Maryland's Eastern Shore (including Salisbury, Easton, and Ocean City), and Virginia's Eastern Shore. We bring our mobile showroom to you for a convenient, in-home shopping experience.
What is the advantage of using a professional installer?
While DIY is rewarding, a professional installer from Home Blinds & Floors guarantees a perfect result. We take precise measurements, handle any unforeseen challenges with your window frames, and ensure your shades operate flawlessly. This saves you time, prevents costly measurement mistakes, and gives you peace of mind knowing the job is done right.
Your Delmarva Source for Custom Cellular Shades
In summary, installing cellular shades is an achievable DIY project that enhances your home's style and energy efficiency. The keys to success are careful measurement, a level installation, and choosing the right mount for your windows. However, for a guaranteed perfect fit and a stress-free experience, professional installation is always the best choice.
Home Blinds & Floors provides custom window treatments, expert advice, and in-home service to homes across the Delmarva Peninsula. From Rehoboth Beach to Easton, our team is here to help you choose the best shades, shutters, or blinds for your space. Schedule your free in-home consultation today and let us bring the showroom to you.


Comments