.avif)
.avif)
.avif)
Expert Blind Installation & Repair on the Delmarva Peninsula
- Johann Reardon

- Oct 26, 2025
- 11 min read
TL;DR: Successful blind installation hinges on precise measurements and the right tools. For simple blinds in standard windows, a DIY approach with a steel tape measure, drill, and level can work. However, for custom shapes, motorized systems, or difficult wall materials like those in many Delmarva homes, professional blind installation and repair is the best choice to ensure a perfect, secure fit. Calling an expert saves time, prevents damage, and guarantees a flawless look.
Are you trying to decide whether to tackle a blind installation and repair project yourself or call in a professional for your Delmarva home? At Home Blinds & Floors, we help homeowners across the Eastern Shore find the perfect balance of style, function, and value with custom window treatments tailored to your space. Proper installation is key to making your new blinds look great and work smoothly for years to come.
Proper installation goes far beyond just getting the blinds on the wall. It directly impacts how they work, how long they last, and even how safe they are. A blind that isn't mounted correctly can start to sag, get stuck, or even become a hazard. Imagine a heavy set of faux wood blinds with a poorly secured headrail—it could easily come crashing down, damaging the window frame or worse.
The right installation ensures your blinds operate smoothly, look perfectly symmetrical, and stand the test of time. It’s what separates a frustrating, crooked eyesore from a polished, professional look that elevates the whole room.
A Few Things to Think About First
Before you roll up your sleeves, take a moment to honestly assess the project. Weighing the complexity against your skill level and the time you have can save you a major headache later.
Here are a few factors to consider:
Window Shape and Size: Your average rectangular window is pretty straightforward. But arched windows, bay windows, or those giant floor-to-ceiling ones? They often need special techniques and hardware.
The Blind's Mechanism: There's a world of difference between a simple corded blind and a sophisticated motorized system that requires wiring and programming.
What's Behind the Paint? Drilling into drywall is one thing, but tackling plaster, brick, or concrete is a whole different ballgame. Each surface demands specific anchors and a bit more know-how.
If you're looking at trickier spots like skylights, this guide to skylight blinds and shades is a great resource for understanding the unique challenges they present.
DIY vs. Professional Blind Installation in Delmarva
To help you decide, here's a quick breakdown of what to expect whether you tackle it yourself or bring in the experts from Salisbury to Rehoboth Beach.
Factor | DIY Approach | Professional Service (Home Blinds & Floors) |
|---|---|---|
Cost | Lower upfront cost (just the price of the blinds). | Higher initial investment, but includes expert labor and warranty. |
Time | Can take several hours, especially for beginners. | Quick and efficient, often done in under an hour per window. |
Tools | You'll need to own or buy a tape measure, drill, level, and specific drill bits. | We arrive with every specialized tool needed for a perfect fit. |
Accuracy | Risk of mis-measurement, leading to gaps or ill-fitting blinds. | Guaranteed precise measurements and a flawless, custom-fit look. |
Complexity | Best for standard windows and simple blind types. | Ideal for motorized blinds, custom shapes, and difficult wall materials. |
Warranty | You're on your own if something goes wrong during installation. | Our work is fully insured and guaranteed for your peace of mind. |
As a local, family-run business, Home Blinds & Floors provides personal service, competitive pricing, and professional installation throughout Sussex, Wicomico, Kent, and beyond.
Getting Your Tools Ready for a Flawless Install
Any seasoned installer will tell you that a successful blind installation is all about preparation. The real work begins before you even open the box, and that starts with having every tool you need right there with you. Trying to wing it is a surefire way to get frustrated, waste time, and end up with a crooked, wobbly result.
Home Blinds & Floors offers a wide selection of custom blinds and shades in Delmarva, with expert installers who bring the showroom to your living room.
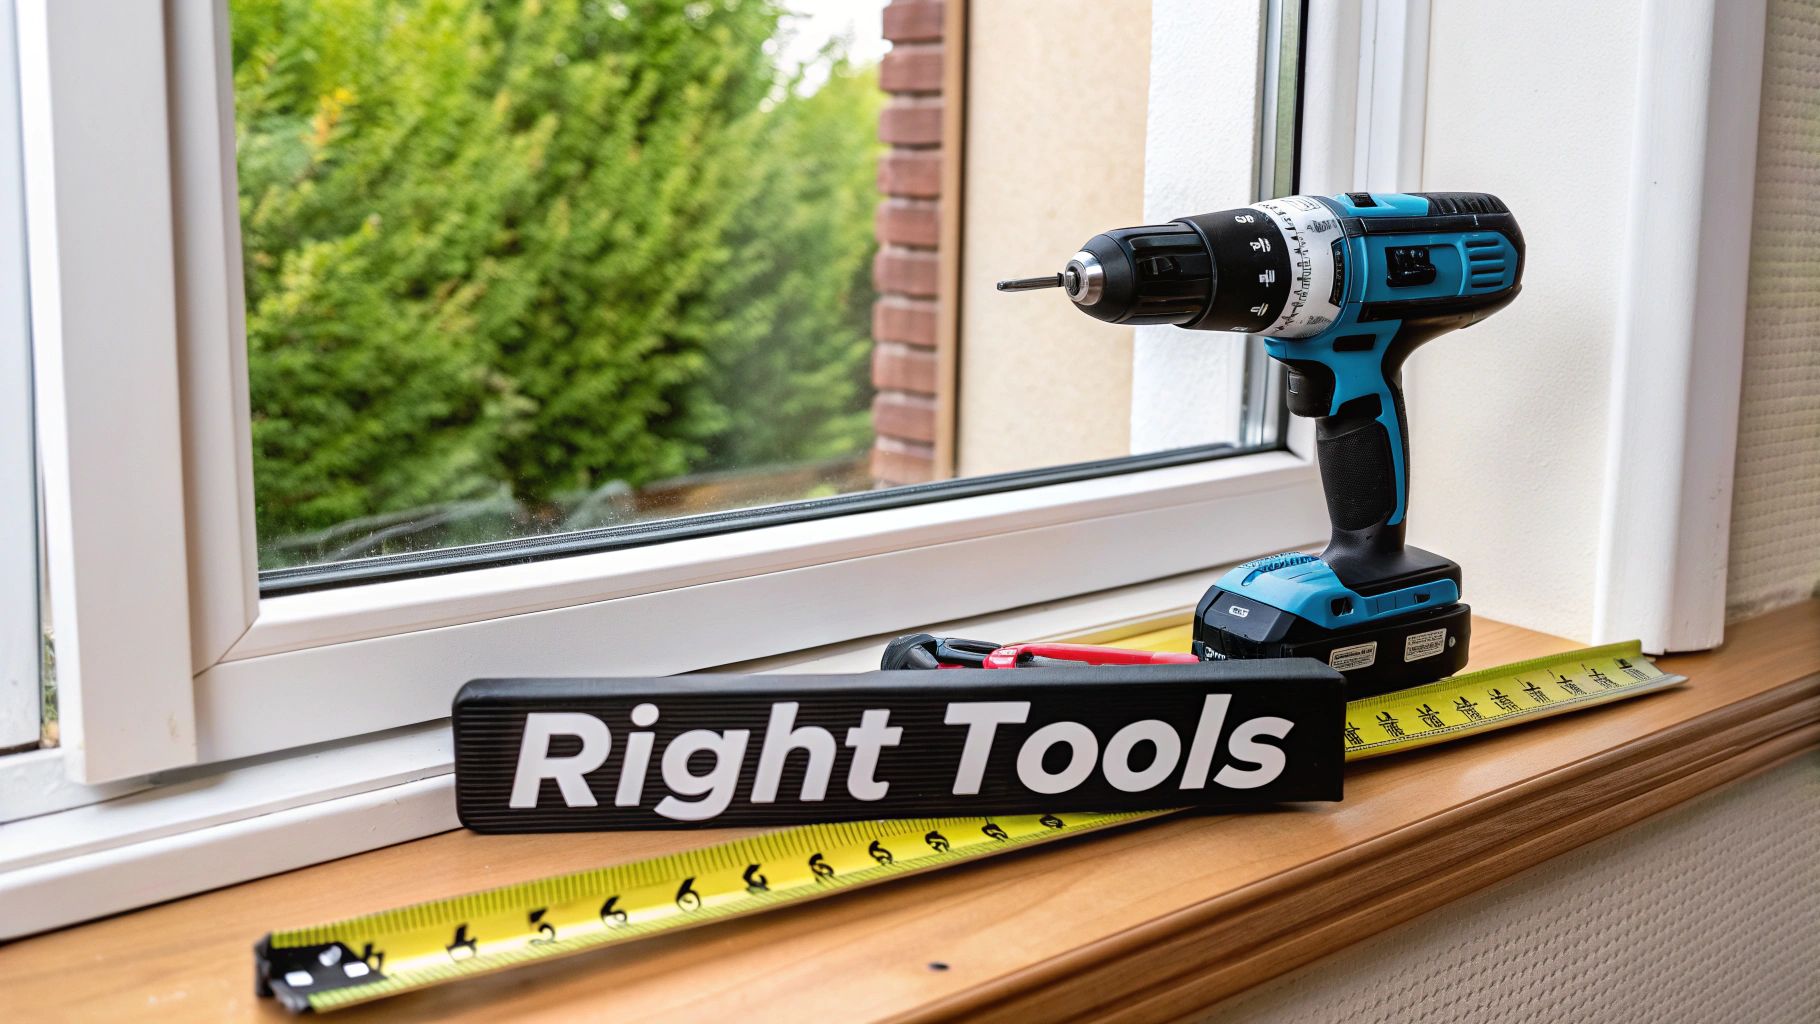
The Absolute Must-Haves
For pretty much any blind installation, there are a few core tools you simply can't do without. Forgetting even one of these can bring the whole project to a grinding halt.
Steel Tape Measure: This is your most important tool, period. Fabric or plastic tapes can stretch, leading to inaccurate readings. A good steel tape measure delivers the precision you need for that perfect, snug fit.
Power Drill and Drill Bits: A reliable drill will make quick work of installing brackets. The key is having the right bits for your surface—a standard bit works for wood or drywall, but you'll need a masonry bit if you're drilling into brick or concrete.
A Sturdy Level: Nothing gives away a DIY job faster than crooked blinds. A level is non-negotiable for ensuring your brackets are perfectly aligned so the blinds operate smoothly and look professional.
Pencil: Simple, but so easy to forget. You'll need it for marking where to drill.
Tools That Make Life Easier
Once you have the essentials covered, a few other items can make the job go much smoother, especially if you’re working solo. They aren't strictly required, but I’ve found they can be lifesavers.
A stud finder is a fantastic tool to have if you're mounting heavier blinds outside the window frame. Anchoring those brackets directly into wall studs gives you a much stronger hold than relying on drywall alone.
It's not about having the most tools; it's about having the right tool for each step. Thinking ahead like this is what separates a quick, clean installation from an all-day struggle.
Prepping the Window Area
Before you even think about picking up a drill, take a minute to get the workspace ready. This is a step people often skip, but it sets you up for a much better outcome.
Start by giving the window frame and sill a good cleaning. Dust and debris can get in the way of your measurements and just make the whole job messier. Next, run your hand along the inside of the frame where you plan to install the brackets. Feel for any old paint drips, uneven spots, or warped wood. These little imperfections can throw off your level and keep the brackets from sitting flush against the surface.
Remember, accurate measurement is the foundation of the entire project. For a detailed walkthrough, check out our guide on **how to measure windows for blinds for a perfect fit**. Getting this step right is the single most important thing you can do to ensure the custom blinds for your Delmarva home look and function exactly as they should.
A Practical Guide to Installing Your Blinds
Alright, let's get our hands dirty. Putting up your own blinds can be a really rewarding weekend project, but the secret to getting it right comes down to two things: patience and precision. I'm going to walk you through the whole process, step-by-step, without any of the confusing jargon. Just real, practical advice for a finish that looks like a pro was there.
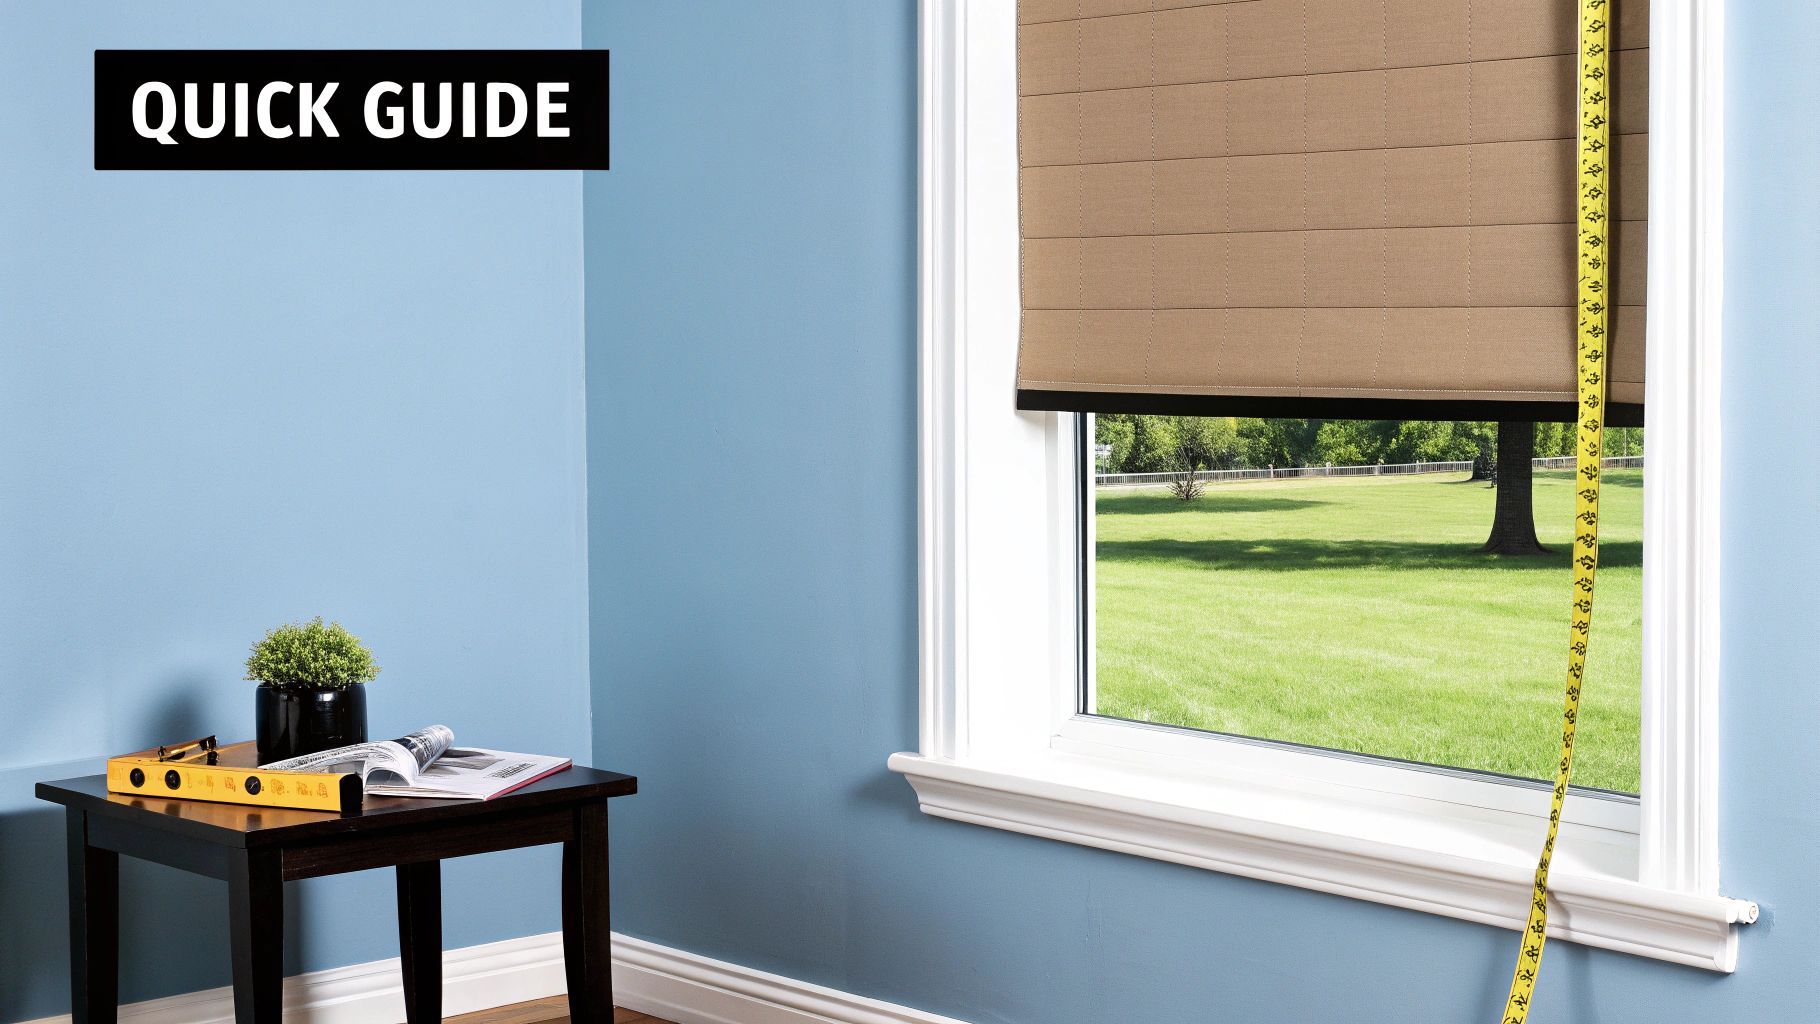
Mastering the Art of Measurement
Getting your measurements right is everything in a blind installation and repair project. Honestly, being off by just a tiny fraction of an inch can leave you with blinds that are too tight to work properly or have annoying, light-leaking gaps on the sides.
For an inside mount, where the blind sits flush inside the window frame, you have to be exact. Always measure the width at the top, middle, and bottom of the window casing. Believe me, window frames are almost never perfectly square, especially in some of the beautiful older Delmarva homes.
You’ll want to use the smallest of these three measurements for your final width. For the height, do the same thing—measure the left, middle, and right, but this time, use the longest measurement to make sure you get full coverage.
Now, for an outside mount—where the blind goes on the wall or trim above the window—you get a little more wiggle room. The main goal is to cover the window completely to block light and give you privacy. A good rule of thumb is adding at least 1.5 to 3 inches of overlap on each side of the window opening.
Marking and Mounting Your Brackets
Once you have your measurements sorted and your new blinds are in hand, it’s time to get the hardware up. This is where your level becomes your absolute best friend. Nothing screams "DIY job" more than a crooked blind.
Start by holding one of the mounting brackets where you want it and use a pencil to mark the drill holes. If you're doing an inside mount, you'll need to decide if you're mounting to the top of the frame (a "top-fix") or the sides ("face-fix"). After marking the first bracket, grab your tape measure and level to figure out where the second one goes. It has to be perfectly level with the first.
Take your time here. I can't stress this enough. Double-check your marks with the level before you even think about drilling. A few extra seconds of checking can save you from the headache of patching and repainting misplaced holes.
From free in-home consultations to flawless installation, Home Blinds & Floors takes the stress out of selecting window treatments.
Securing the Headrail and Final Touches
With your brackets screwed firmly in place, you're on the home stretch. Most blinds have a headrail that just snaps or slides right into the brackets. You should hear a satisfying click that tells you it's locked in. Give the headrail a gentle tug to make sure it's not going anywhere.
Once the headrail is secure, you can attach the valance if your blinds came with one. That’s the decorative piece that hides the hardware and gives everything a clean, finished look. Lastly, don't forget to attach any safety parts, like cord cleats, to keep loose cords neatly tucked away from children and pets.
The demand for new window treatments is booming. The global market was valued at USD 14.82 billion in 2024 and is expected to climb to USD 24.63 billion by 2030, with retrofit jobs making up over 57% of global revenue. You can read more about the growth of the blinds and shades market for more details.
For those of you feeling a bit more adventurous, you might be interested in our complete motorized blinds DIY installation guide.
Common Blind Repairs You Can Actually Do
Don't be so quick to toss a set of blinds just because they're acting up. You'd be surprised how many common issues are totally fixable with a little bit of patience. This is all about empowering you to handle those everyday annoyances—from a busted slat to a cord that won't cooperate—without having to spend a dime on a replacement.
How to Replace a Broken Slat
A single cracked or bent slat can make an entire window look shabby, but this is probably one of the easiest repairs you can do. The fix is pretty much the same whether you have faux wood, vinyl, or aluminum blinds.
First, you need a replacement slat. You can often buy these individually or use the very last slat at the bottom of the blind. Find the little plastic plugs on the underside of the bottom rail and pop them out. Untie the knots and start pulling the lift cords up through each slat until you get to the broken one. Slide the bad slat out, slip the new one in, and then thread the cords back down through all the holes. Once you're back at the bottom rail, thread the cords through, tie them off with a secure knot, and snap the plugs back in.
Pro Tip: Before you untie a single thing, take a quick photo with your phone of how the cords are threaded through that bottom rail. Trust me, it’s a lifesaver when you’re trying to remember how to put it all back together.
Re-Stringing a Snapped Lift Cord
A broken lift cord is a classic problem that makes a blind completely useless, but it's another one that's well within your reach. Just grab a blind re-stringing kit from a hardware store or online.
The process kicks off much like replacing a slat. You'll need to get the blind off the window, pop out those bottom rail plugs, and pull out any remaining bits of the old, frayed cord. Now, take your new cord and carefully follow the path the old one took, weaving through the slats and up into the headrail mechanism. Once it's all threaded, tie it off at the bottom, pop the blind back into the window, and give it a test run. If you need some pointers on taking blinds down, our guide on how to remove Hunter Douglas blinds in Delmarva has some helpful visuals.
Troubleshooting a Stuck Tilt Mechanism
Are your slats refusing to tilt open or shut? The culprit is almost always the tilt mechanism. Start by taking the blind down and removing the end cap from the headrail to peek inside. You might just find a bit of dust or a tangled cord that you can clear out. A quick shot of a silicone-based lubricant can also work wonders to get sticky gears moving again. If you see a cracked plastic gear, you’ll need to order a replacement part for your specific blind model.
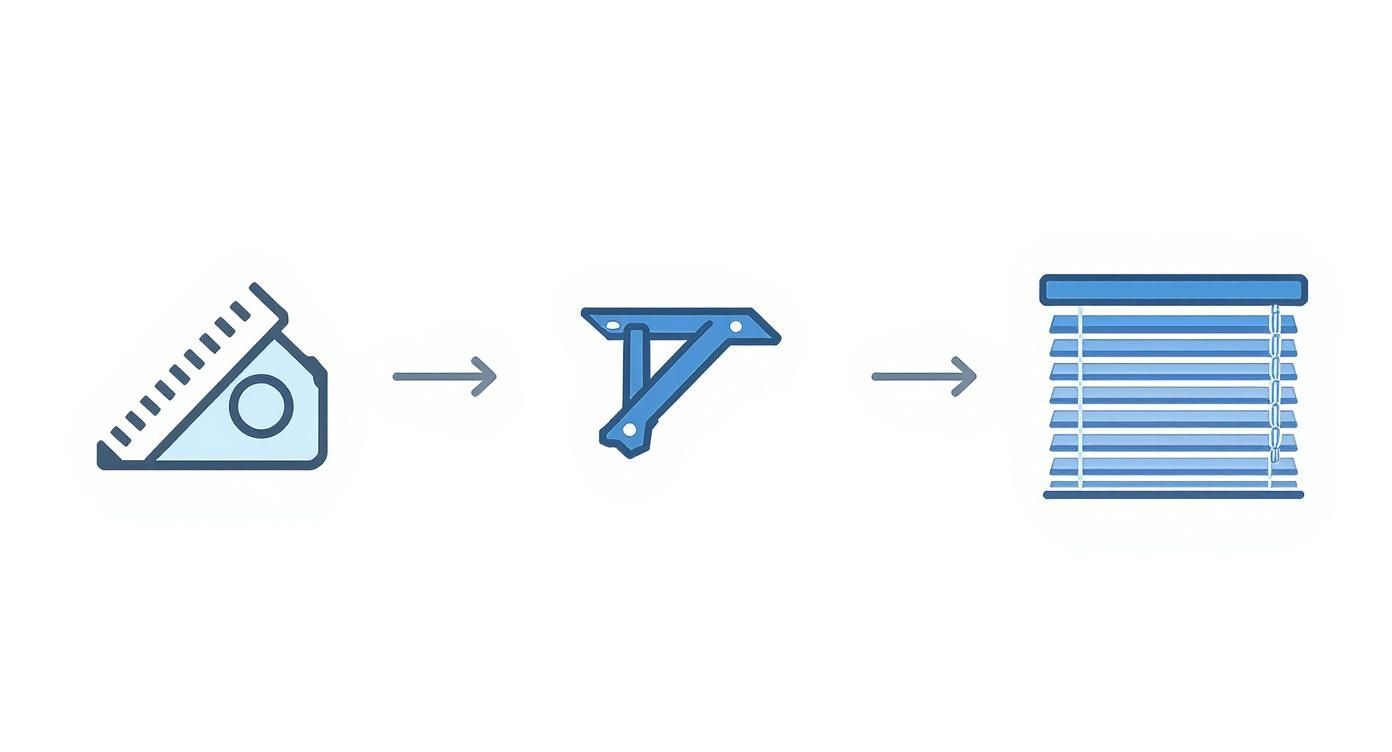
This simple infographic gives you a good overview of the basic steps for a new blind installation, breaking it down into three key phases.
Knowing When to Call a Professional
There's a fine line between a rewarding DIY project and a frustrating, costly mistake. Knowing your limits is the sign of a savvy homeowner, especially when it comes to blind installation. While many small repairs are perfectly doable, some situations just scream for an expert’s touch.
Signs It's Time for Expert Help
Some projects are a dead giveaway that you need a pro. If you find yourself facing any of these scenarios, it's probably best to call in a specialist.
Specialty-Shaped Windows: Got an arched, bay, or circular window? These aren't your standard rectangular frames. They demand custom-fit solutions and precision installation techniques.
Motorized or Smart Blinds: The moment a project involves electrical wiring, programming, or syncing with your smart home system, it's a job for an expert.
Large or Heavy Treatments: Big windows often mean big, heavy blinds. Think real wood blinds or oversized shutters. These must be anchored securely to prevent them from becoming a serious safety hazard.
From free in-home consultations to a flawless final installation, our team at Home Blinds & Floors takes the stress out of the entire process here in Delmarva. If you do decide to hire a contractor, using an essential contractor hiring checklist is a great way to make sure you're hiring the right person for the job.
A professional installer doesn't just hang blinds; they solve problems. They account for uneven surfaces, difficult materials, and custom fits to deliver a result that looks and works perfectly.
For more local insights, check out our guide to finding the best blinds for windows near me in Delmarva.
For a more detailed look at all the possibilities, I highly recommend reading our homeowner's guide to window treatments on the Delmarva Peninsula.
FAQ: Blind Installation and Repair
Over the years, we've helped countless homeowners across the Delmarva Peninsula. Here are some of the most common questions people ask us about getting new blinds installed.
What does professional blind installation cost in Delmarva?
The price for professional installation can fluctuate based on the number of windows, the type of blinds (e.g., faux wood blinds vs. motorized shades), and the complexity of the job. However, most of our clients in Salisbury or Easton find it's a worthwhile investment for the peace of mind that comes with a perfect, secure fit. We provide a clear, detailed quote during our free in-home consultation so there are no surprises.
What are the best blinds for a beach house in Rehoboth or Ocean City?
For coastal homes, you need materials that resist humidity and salt air. We highly recommend faux wood blinds, which won't warp or crack, vinyl plantation shutters that are moisture-proof and easy to clean, or solar shades that reduce UV damage while preserving your view.
Can I install motorized blinds myself?
While some battery-operated smart blinds are marketed as DIY-friendly, we strongly recommend professional installation. A pro ensures the system is set up correctly, functions safely, and syncs perfectly with your smart home technology from day one, avoiding glitches and headaches. Hardwired systems should always be installed by an expert.
What's the difference between an inside mount and an outside mount?
An inside mount fits snugly within the window frame for a clean, built-in look. It's great for a minimalist style. An outside mount is installed on the wall or trim above the window, which can make the window appear larger and is necessary when the frame is too shallow for an inside mount.
What cities in Delmarva do you serve?
Home Blinds & Floors proudly serves homeowners and businesses across the Delmarva Peninsula, including Salisbury, Easton, Ocean City, Rehoboth Beach, and communities throughout Sussex, Wicomico, and Kent counties.
Your Local Delmarva Window Treatment Experts
In summary, Home Blinds & Floors provides custom window treatments, expert advice, and in-home service to homes across the Delmarva Peninsula. From Rehoboth Beach to Easton, our team is here to help you choose the best shades, shutters, or blinds for your space. Whether you need a simple blind repair or a full-house installation of plantation shutters, we ensure a flawless result every time. Schedule your free consultation today.


Comments