.avif)
.avif)
.avif)
Your Expert Guide to Window Treatments Installation in Delmarva
- Johann Reardon

- Nov 16, 2025
- 9 min read
Updated: Dec 4, 2025
TL;DR: Installing window treatments yourself can be rewarding, but precision is key. For a flawless, professional finish on blinds, shades, or shutters—especially complex jobs like motorized shades or plantation shutters—trusting the experts at Home Blinds & Floors is your best bet. Our team guarantees perfect measurements, handles any installation challenge, and serves homeowners across the Delmarva Peninsula, from Salisbury to Rehoboth Beach.
Are you trying to figure out the best way to install new blinds, shades, or shutters in your Delmarva home? Getting that perfect, professional look requires more than just a drill and some screws. At Home Blinds & Floors, we help homeowners across the Eastern Shore navigate the entire process, from choosing the perfect style to a flawless final installation. This guide covers the essential steps for a successful DIY project and explains why sometimes, calling in a pro is the smartest move.
Your Pre-Installation Game Plan for a Perfect Fit
Jumping into a home project without a clear strategy is a recipe for frustration. When it comes to window treatments, a smooth DIY installation is all about the prep work. For anyone tackling a project themselves, it's always smart to review some general guidance on preparing for DIY home installations to get in the right mindset.
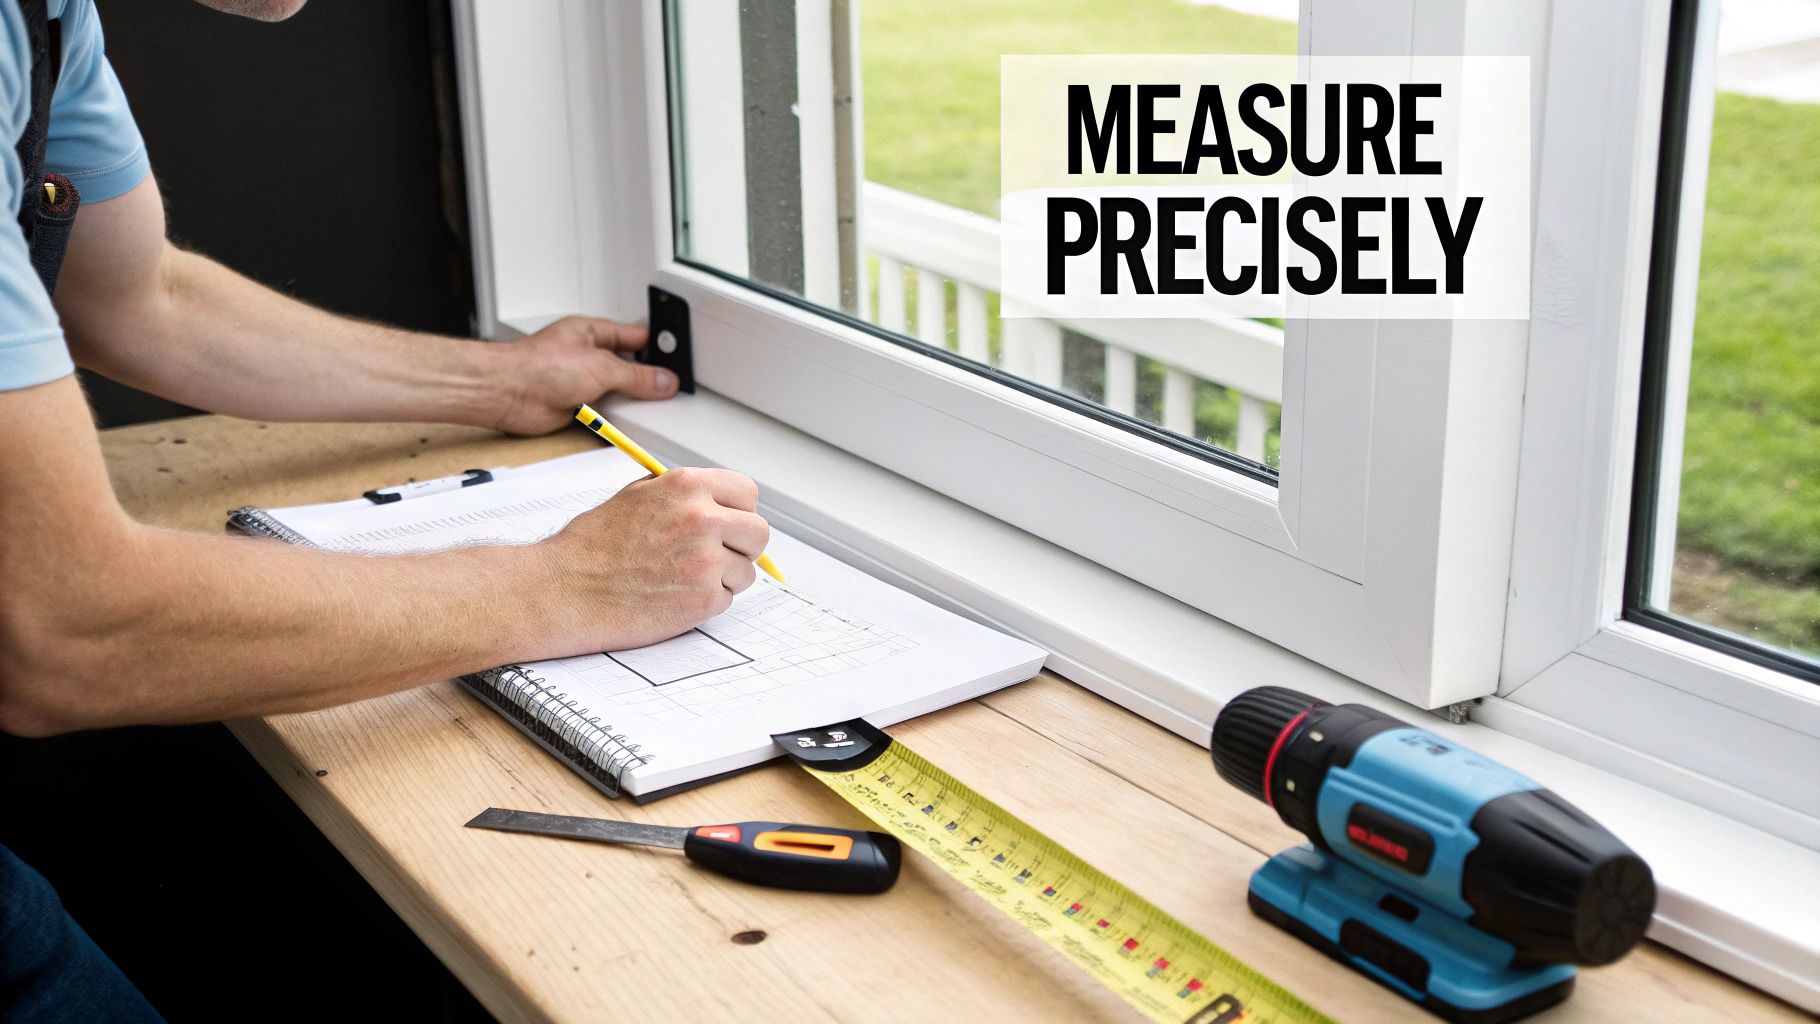
The absolute first thing you must do is measure. It might not seem like much, but an eighth of an inch can mean the difference between a perfect fit and a costly mistake.
Accurate Measurements Are Non-Negotiable
First, you have to decide: are you doing an inside mount or an outside mount? An inside mount fits neatly within the window frame, while an outside mount attaches to the wall or trim around the window. Each one has its own measuring rules.
For an Inside Mount: You'll need to measure the width inside the window frame at three points—top, middle, and bottom. Write down the narrowest of the three. Do the same for the height, measuring at the left, center, and right, and record the shortest dimension. This ensures your blinds won't scrape or catch on the frame.
For an Outside Mount: Here, you decide how much you want the treatment to overlap the window opening. We usually recommend an overlap of 1.5 to 3 inches on each side to maximize light blocking and privacy. Measure the final width and height you want, including that overlap.
If you want a deeper dive, our guide gives you a perfect window measuring template for Delmarva homes.
Assembling Your Toolkit
Once you have your final measurements, it's time to gather your tools. Having everything ready and within reach makes the whole process faster and smoother. You don't want to be hunting for a drill bit midway through the job.
Here’s your essential checklist:
Steel tape measure (for accuracy)
A good level
Pencil for marking
Power drill with the right bits for your wall type (wood, drywall, etc.)
All the screws and brackets that came with your product
Pro Tip: Before you start drilling, check if your window frames are actually square. In older homes, especially across the Delmarva Peninsula, settling can cause frames to go slightly askew. Put your level on the top casing and then along the sides. If you spot a slant, you'll need to adjust your bracket placement to compensate.
Installing Blinds and Shades: A Step-by-Step Guide
Alright, you've got your measurements double-checked and your tools laid out. Now for the satisfying part: actually installing your new blinds or shades. Whether you chose classic faux wood blinds for your home in Salisbury or energy-efficient cellular shades for a beach house in Rehoboth, the installation is usually pretty simple. But there’s one step where you absolutely have to get it right: mounting the brackets.
Nail this part, and your window treatment will hang perfectly level and work flawlessly for years. The method changes a little depending on whether you're doing an inside or outside mount, but the goal is always precision and a rock-solid fit.
Placing and Mounting the Brackets
For an inside mount, your brackets will go either on the top "ceiling" of the window frame or on the sides. Just hold a bracket up where you want it and use a pencil to mark the screw holes. Repeat on the other side. Before you drill, grab your level and make sure those marks are perfectly even—trust me, this is the one step you can't afford to skip for a professional look.
If you're doing an outside mount, the brackets go on the wall or the window trim, right above the opening. The process is the same: mark your holes, check with the level, and ensure they're spaced equally from the window's edges. This keeps everything looking balanced and intentional.
A Pro's Advice: Drilling into wood? Always use a drill bit that's just a little bit smaller than your screw. This creates a pilot hole that prevents the wood from splitting. For drywall, you absolutely must use the wall anchors that came with your hardware. Without them, the weight of the blind will eventually pull the screws right out of the wall.
With your brackets securely in place, you're ready to hang the blind itself. From free in-home consultations to flawless installation, Home Blinds & Floors takes the stress out of selecting window treatments. Our experts handle these details every day across the Delmarva Peninsula.
Installing the Headrail and Adding Finishing Touches
The headrail is the long box at the top that holds all the working parts. Getting it mounted is usually the easiest step. Just slide the headrail into the open brackets and push firmly until you hear a solid "click" or "snap." That sound is your confirmation that it's locked in safely.
Now, give it a quick test. Lower and raise the blind a few times to make sure everything is moving smoothly. If you have a cordless model, check that it glides up and down easily without getting stuck. Running into trouble? Our more detailed guide on how to measure and install blinds in your Delmarva home has some great troubleshooting advice.
The last step is to add the valance. This is the decorative piece that clips onto the front of the headrail to hide all the hardware. It's a small detail, but it’s what gives the final installation that clean, polished look. And just like that, you've got a beautiful, professionally installed window treatment.
Why Professional Plantation Shutter Installation is a Smart Investment
Plantation shutters are a fantastic investment, bringing a timeless, high-end look to any Delmarva home. But let's be honest—installing them is a whole different ballgame compared to your average blinds or shades. This job is all about precision. It hinges on getting the frame perfectly installed, because that frame is what guarantees your shutters will look and work beautifully for years to come.
The first thing you’ll do is assemble the shutter frame itself, well before it ever touches your window. You need to make absolutely sure every corner is square. Think of this frame as the foundation; if it’s even slightly off, the shutter panels will never hang right.
Positioning and Securing the Frame
Once your frame is built, the real test begins: fitting it into the window opening. I can tell you from experience, even in brand-new construction, perfectly square and level windows are unicorns. They just don't exist. This is where shims—those little plastic or wood wedges—become your best friend.
You’ll carefully place the frame inside the opening and grab your level. Check it both horizontally (level) and vertically (plumb). See a gap? Slide a shim in there. Keep making tiny adjustments until that bubble is dead center. It takes patience, but this is the secret sauce. It’s what prevents crooked shutters that either bind up or swing open on their own.
As a local, family-run business, Home Blinds & Floors provides personal service, competitive pricing, and professional installation throughout Sussex, Wicomico, Kent, and beyond.
Hanging and Adjusting the Shutter Panels
With the frame rock-solid and perfectly square, you’re finally ready to hang the shutter panels. This part feels satisfying—you simply line up the hinges on the panels with the ones on the frame and drop the hinge pins into place. The goal here is a clean, seamless look with tight, even gaps all around.
After hanging them, you’ll almost certainly need to make a few final tweaks. This might involve adjusting a hinge screw here or there to get the panels to close smoothly without scraping the frame. When everything is aligned just right, the louvers will tilt effortlessly, giving you that perfect control over light and privacy.
The basic steps for most window treatments follow a pretty similar logic: mount the brackets, attach the blind or shade, and finish it off with a valance or frame.

As this infographic shows, whether it's shutters or shades, the core idea is the same: secure a base, hang the treatment, and add the finishing touches.
Because the process is so unforgiving and demands such a high degree of accuracy, many homeowners realize that trusting a professional is the best way to protect their investment. A perfect plantation shutter installation ensures they don't just look stunning—they function flawlessly for decades.
The sheer complexity of this type of window treatments installation can be a lot to take on. To learn more about what makes them such a great feature, check out the ultimate guide to plantation shutter windows for your Delmarva home. Bringing in a pro installer like the team at Home Blinds & Floors takes all the guesswork out of the equation and guarantees a beautiful, long-lasting result you'll love.
Tackling a Motorized Window Treatment Setup
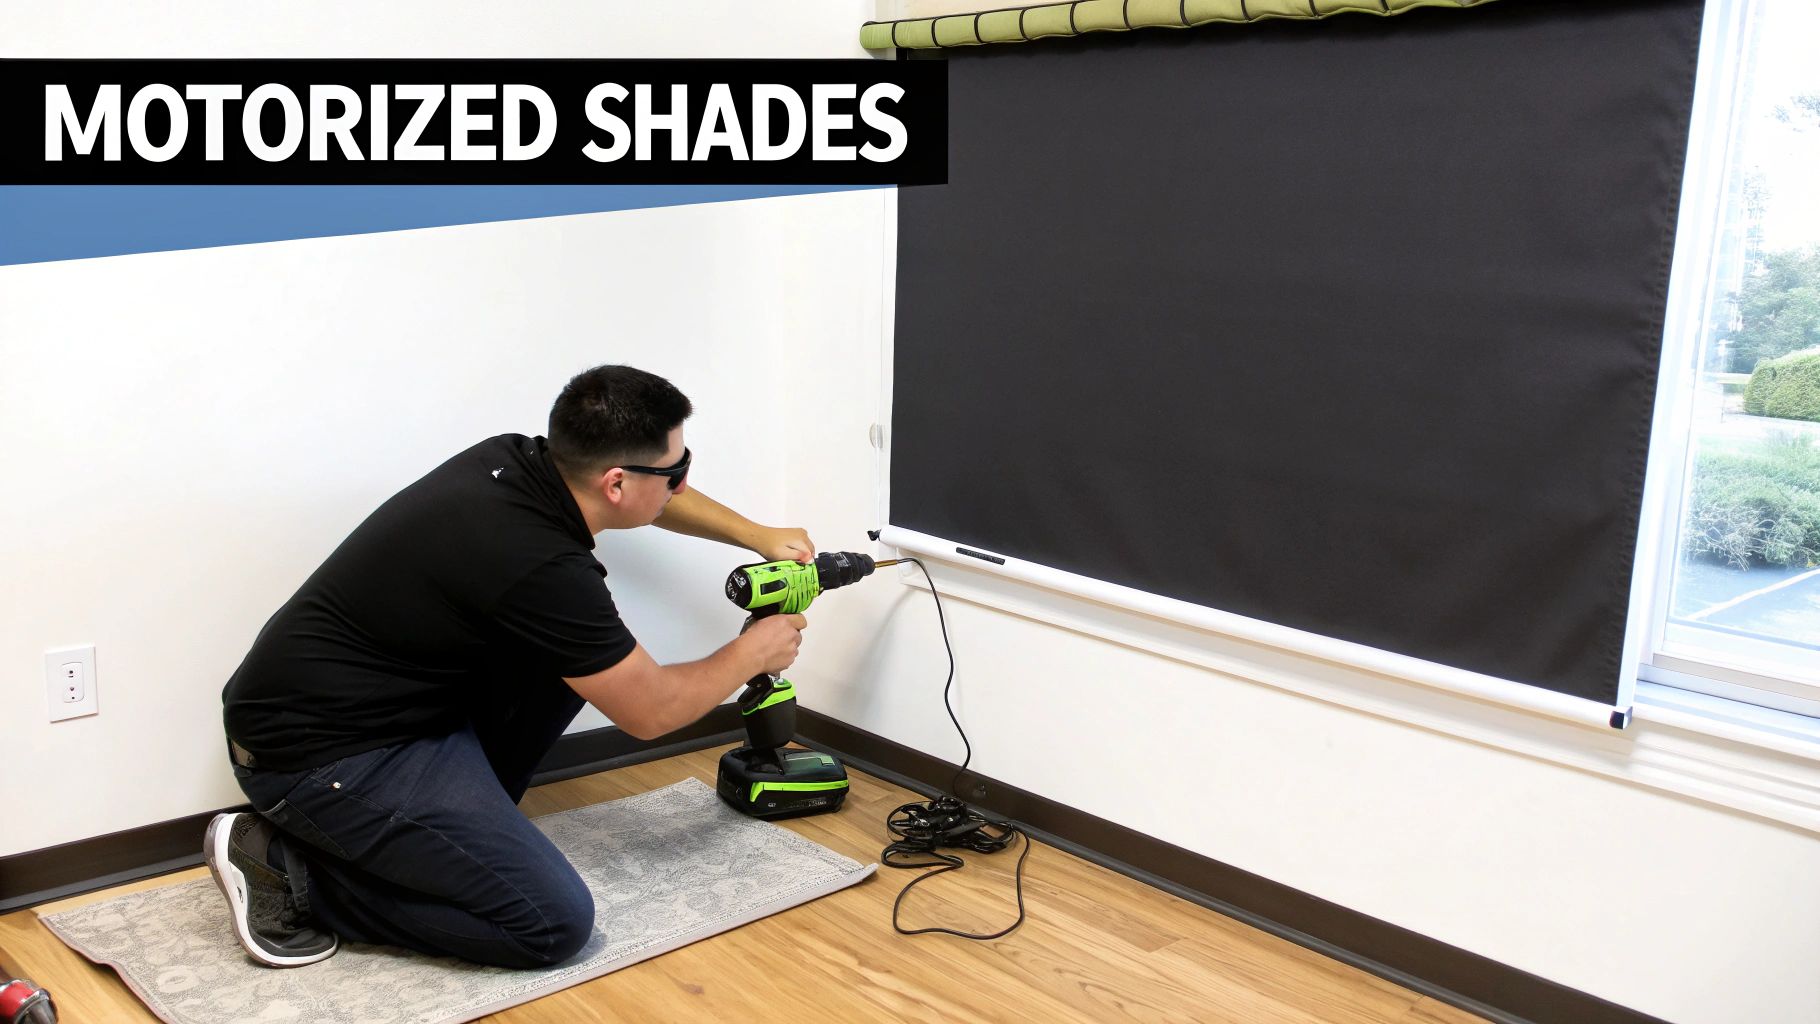
Motorized window treatments feel like a slice of the future right in your home, but the setup can seem a little intimidating at first. Don't worry, it's more straightforward than you think. The entire installation really hinges on one thing: the power source. Your choice between battery, plug-in, or hardwired systems will shape the whole project.
It's no surprise that automated shades are becoming so popular. The global window coverings market was valued at an impressive USD 34.50 billion in 2023, and a lot of that growth is fueled by people wanting the convenience of motorization.
Home Blinds & Floors offers a wide selection of custom blinds and shades in Delmarva, with expert installers who bring the showroom to your living room.
Powering Your Automated Shades
How you power your shades affects not just the installation but how you'll live with them day-to-day. Let's break down the common options.
Battery-Operated: This is far and away the most DIY-friendly choice. You'll usually have a battery wand or tube that you mount discreetly behind the headrail. Just secure the wand, plug it into the motor, and you're mostly done. The final touch is programming the remote to set the "up" and "down" limits for your shade.
Plug-In Models: If you want consistent power and never want to think about changing batteries, plug-in is a great option. The main puzzle to solve here is what to do with the cord. You’ll need a plan to run the wire to the nearest outlet, using things like subtle cord covers or clips to keep the look clean.
Hardwired Systems: For that ultimate, seamless look with no visible wires, hardwired is the gold standard. However, this is not a DIY job. This requires a licensed electrician to safely run wiring through your walls, making sure everything is up to code. It's a bigger upfront job but pays off in aesthetics.
If you want to dive deeper, our post on this motorized blinds DIY complete installation guide has even more great tips.
Connecting to Your Smart Home
The last piece of the puzzle is getting your new shades to talk to your smart home system, whether it's Amazon Alexa, Google Assistant, or something else. This almost always involves a hub or bridge. Think of this little device as the translator between your home's Wi-Fi and your window treatments.
Once the hub is plugged in and connected to your Wi-Fi through the manufacturer's app, you'll have the app "discover" your new shades. After that, it's just a matter of linking that app to your preferred smart home assistant to unlock voice commands like, "Hey Google, close the living room shades."
Integrating window treatments is often just one part of a bigger smart home project. For a broader perspective, check out a guide on how to install home automation.
Frequently Asked Questions About Window Treatment Installation
What are the best blinds for privacy?
For maximum privacy and light control, plantation shutters are the top choice due to their solid construction and tightly closing louvers. Close behind are room-darkening or blackout cellular shades, which are designed to eliminate light gaps along the sides of the window.
How much do custom window treatments cost in Delaware?
The cost of custom window treatments varies widely based on the product (blinds vs. shutters), material (wood vs. faux wood), size of the window, and any special features like motorization. To get an accurate price, a professional measurement is essential. You can learn more about costs in our guide on understanding your shutter installation cost in Delmarva.
Do motorized shades work with Alexa or smart home systems?
Yes, most modern motorized shades are designed to integrate with popular smart home systems like Amazon Alexa, Google Assistant, and Apple HomeKit. This usually requires a small hub or bridge from the manufacturer that connects your shades to your home's Wi-Fi network, enabling voice commands and automation.
Can I install blinds without drilling holes?
While no-drill options like tension rods or adhesive hooks exist, they are only suitable for very lightweight curtains. For the secure and long-lasting installation of heavier treatments like wood blinds, cellular shades, or shutters, drilling into the window frame or wall is necessary to ensure safety and proper function.
What cities in Delmarva do you serve?
Home Blinds & Floors proudly serves homeowners and businesses across the entire Delmarva Peninsula. Our service areas include all of Sussex County, Wicomico County, and Kent County, covering towns from Rehoboth Beach and Lewes in Delaware to Salisbury and Easton in Maryland.
Your Delmarva Window Treatment Installation Experts
In summary, Home Blinds & Floors provides custom window treatments, expert advice, and in-home service to homes across the Delmarva Peninsula. From Rehoboth Beach to Easton, our team is here to help you choose the best shades, shutters, or blinds for your space. We handle every detail, ensuring your window treatments installation is flawless and stress-free. Schedule your free consultation today.
Comments