.avif)
.avif)
.avif)
Cellular Shades Repair: A Delmarva Homeowner's Guide to Fixing Common Issues
- Johann Reardon
- Dec 28, 2025
- 13 min read
TL;DR: Many common cellular shade problems, like a crooked hang or a detached rail, are simple DIY fixes. However, for complex issues such as broken internal cords, unresponsive motors, or torn fabric, professional repair is the smarter, safer choice. This guide helps Delmarva homeowners diagnose their shade issues and decide whether to DIY or call an expert like Home Blinds & Floors to protect their investment and ensure a lasting solution.
Your Cellular Shades Repair Quick Guide
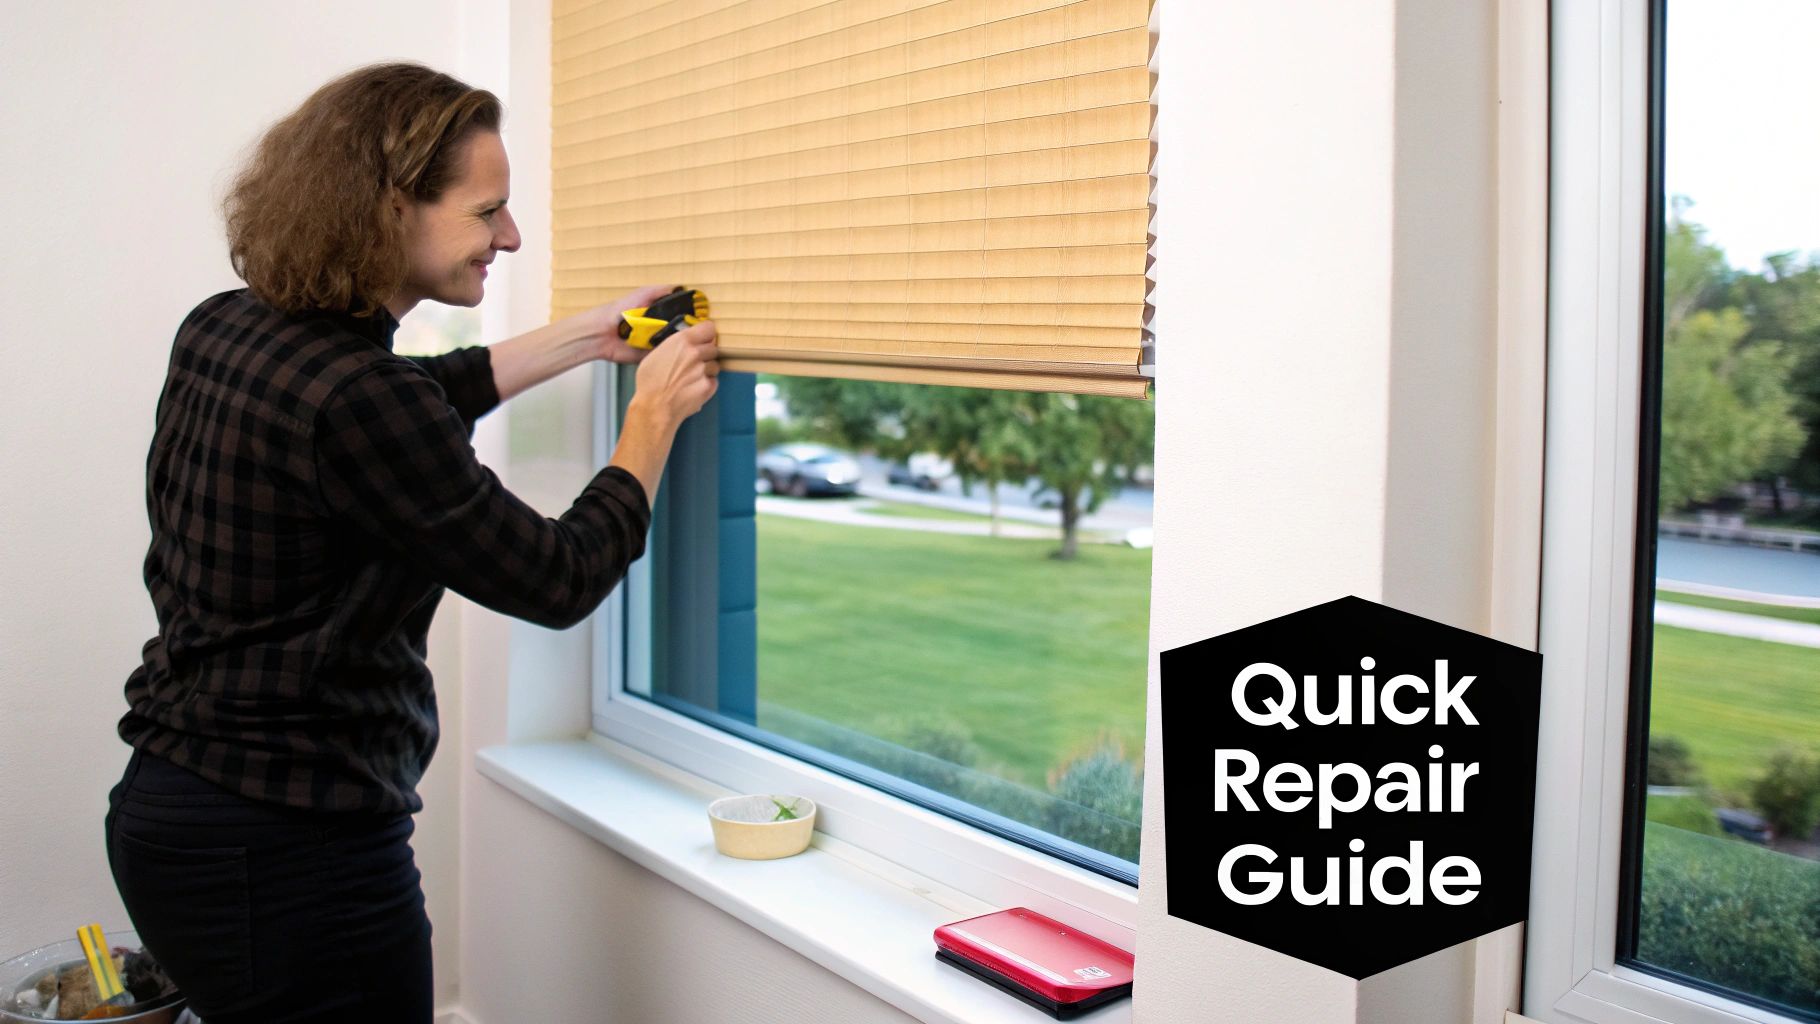
Is there anything more frustrating than a cellular shade that just won't cooperate? One minute it’s providing perfect, soft light, and the next, it’s hanging lopsided, stuck halfway, or refusing to move. At Home Blinds & Floors, we help homeowners across the Delmarva Peninsula fix these exact problems, restoring style and function to their windows.
Before you start thinking about the cost of a full replacement, take a moment to diagnose the issue. You might be surprised to find that many common problems have a straightforward fix. This guide is designed to help our neighbors from Salisbury to Rehoboth Beach figure out what's really going on with their honeycomb shades and decide whether it's a quick DIY job or one for the pros.
Diagnosing Common Shade Problems
Putting on your detective hat for a few minutes can save you a ton of time and money down the road. Most issues, whether it's a frayed cord or an unresponsive motor, have tell-tale signs. Figuring out the root cause is half the battle.
Of course, a little regular upkeep can stop many of these headaches before they even start. For tips on keeping your shades looking and working their best, check out our guide on how to clean honeycomb blinds. It’s a great resource for Delmarva homeowners looking to get the most out of their window treatments.
As a local, family-run business, Home Blinds & Floors provides personal service, competitive pricing, and professional installation throughout Sussex, Wicomico, Kent, and beyond. We believe in empowering our customers with the knowledge to make smart decisions for their homes.
The table below is a quick-reference tool to get you started. Just find the symptom your shade is showing to see the likely cause and what to do next.
Expert Tip: Before you do anything else, take a close look at the headrail and the bottom rail. I've found that often, the real culprit is a tiny, overlooked part like a cord lock or an end cap. These are usually simple and cheap to replace.
Common Cellular Shade Problems And Solutions
This table is your starting point for troubleshooting. It's designed to help you quickly identify the problem with your cellular shade, understand the likely cause, and see whether you can tackle it yourself or if it’s time to call for backup.
Problem | Common Cause | Potential Solution | DIY Or Pro |
|---|---|---|---|
Shade Won't Stay Up | The cord lock inside the headrail is probably worn out or has debris stuck in it. | Try cleaning the mechanism first. If that fails, replace the cord lock. You'll need to remove the headrail's end caps. | DIY-Friendly |
Crooked or Uneven Shade | Over time, the lift cords can stretch unevenly, or one might have jumped out of its guide. | Lower the shade all the way down. Gently tug on the cords one by one to even them out and reset the tension. | DIY-Friendly |
Broken or Frayed Cord | This is usually due to years of normal wear and tear or friction from a rough edge in the mechanism. | The entire shade needs to be restrung. It’s a delicate process requiring a new cord of the exact thickness. | Pro Recommended |
Torn or Damaged Cell | Usually an accident—a snag from a pet, a curious child, or furniture pushed too close. | You can patch tiny tears with special fabric glue. For widespread damage, a pro should take a look. | DIY (Minor) / Pro (Major) |
Motorized Shade is Unresponsive | It's often just dead batteries in the remote or the shade's motor pack. Sometimes the motor needs a reset. | First, replace the batteries in both the remote and the motor. If that doesn't work, follow the manufacturer's steps to reset the motor. | DIY-Friendly |
Top-Down/Bottom-Up Failure | A cord in either the top or bottom rail mechanism has snapped or slipped out of place. | This is a complex restringing job. It requires taking both rails apart and carefully re-threading everything. | Pro Recommended |
Hopefully, this chart helps you pinpoint the issue. For the DIY-friendly fixes, a little patience is all you need. But for those more complex repairs, don't hesitate to reach out to a professional—it’s often faster, safer, and more effective in the long run.
Why Bother Fixing Your Honeycomb Shades?
When a honeycomb shade gets stuck or a cord snaps, it’s easy to think, "Time for a new one." But hold on a minute. Before you start shopping for a full replacement, let’s talk about the hidden value in a simple repair. Fixing your cellular shades is about more than just making them work again—it's a smart move for your budget, your home's comfort, and the environment.
At the end of the day, repairing your shades is almost always the more cost-effective choice. A new custom shade can really set you back, especially if you have large windows or opted for premium fabrics. Most common fixes, like restringing a lift cord or swapping out a worn-out cord lock, cost just a fraction of that. You get to keep the shades you already love and extend their life for years to come.
Don't Lose Your Home's Built-In Insulation
Let's be honest, one of the biggest draws of cellular shades is their amazing insulating power. Those honeycomb-shaped pockets are engineered to trap air, creating a thermal barrier that keeps your home warmer in the winter and cooler in the summer. It's a brilliant design.
But when the lift mechanism gives out or the cells start to separate, that crucial air pocket is gone. Suddenly, one of your home’s best energy-saving features is completely useless. Here on the Delmarva peninsula, where we get both sticky summers and cold winters, you'll feel that difference. A quick repair gets that insulating power back online, helping you keep your energy bills in check.
The Real Numbers: Saving Money and Reducing Waste
The stats don't lie. Cellular shades are workhorses, reducing heat loss through windows by about 40%. For most homes, that translates to a real-world savings of around 10% on heating bills every single year. A simple repair keeps those savings coming.
Beyond your wallet, choosing to repair instead of replace is a far more sustainable choice. It means one less bulky item in a landfill and reduces the resources needed to manufacture a new product. It’s a small decision that has a genuinely positive impact.
From free in-home consultations to flawless installation, Home Blinds & Floors takes the stress out of selecting window treatments. Our team serves homeowners across the Eastern Shore, from Easton to Ocean City, helping them find the perfect balance of style and function.
A Little Proactive Care Goes a Long Way
Like anything else in your home with moving parts, your cellular shades appreciate a little attention now and then. Simply operating them smoothly and giving them a gentle cleaning can prevent a lot of common problems from ever starting.
A proactive approach is your best defense. Integrating some general preventive maintenance strategies can keep your window treatments working perfectly for years and save you headaches down the road.
Give your shades a quick look-over every few months. Do you see a cord that’s starting to fray? Is one side hanging a little lower than the other? Catching these things early usually means the fix is faster and cheaper. Home Blinds & Floors offers a wide selection of custom blinds and shades in Delmarva, with expert installers who bring the showroom to your living room. We help our neighbors find that perfect sweet spot between style, function, and lasting value.
DIY Cellular Shades Repair You Can Handle
Ready to roll up your sleeves and tackle those nagging cellular shade problems yourself? Many of the most common issues are surprisingly simple to fix with a bit of patience and know-how. Let’s walk through some of the most frequent repairs that you can definitely handle on your own.
A quick fix doesn't just get your shade working again; it saves you money, restores the valuable insulating properties of the shade, and protects your initial investment.
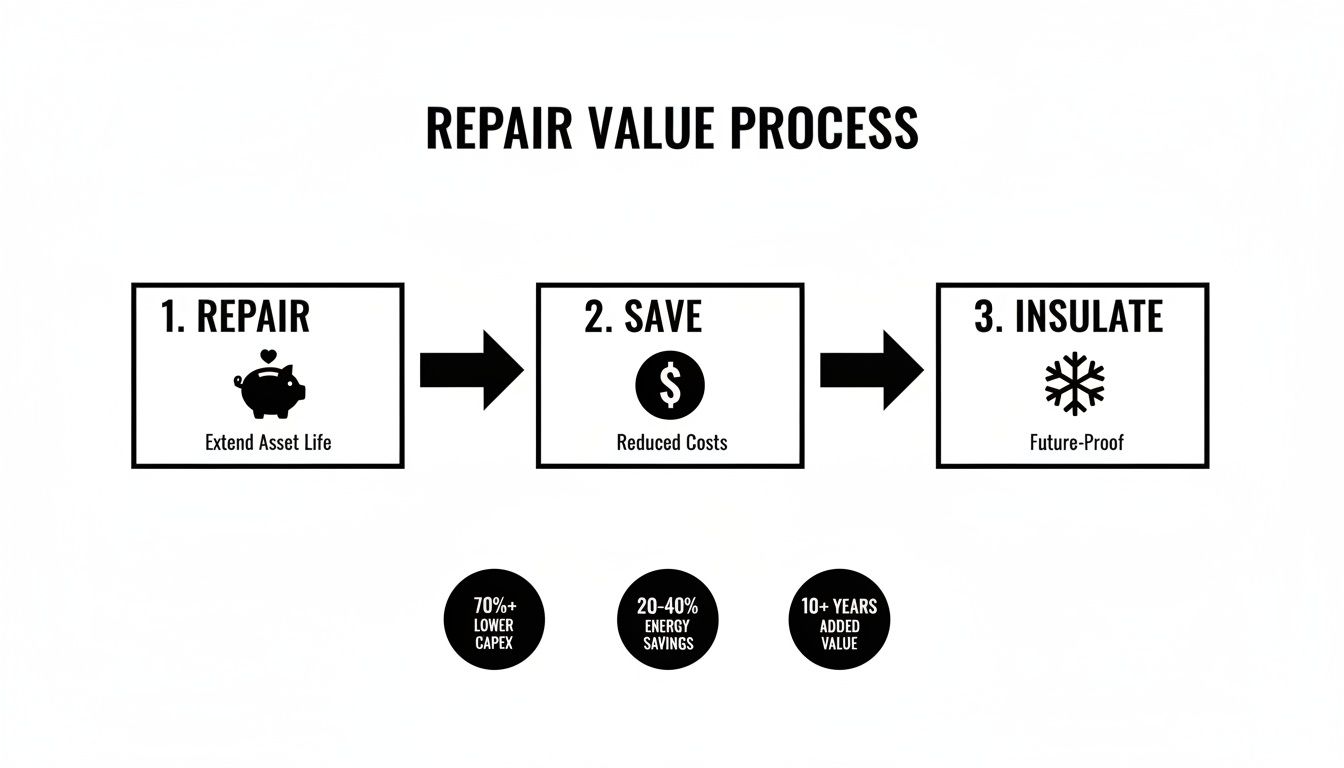
As you can see, a straightforward repair leads directly to real benefits, from keeping cash in your wallet to making your home more comfortable.
Getting The Right Tools For The Job
Before you dive in, having the right tools on hand will make any repair go much smoother. You don't need a professional workshop, but a few key items can be the difference between a frustrating afternoon and a quick, successful fix. I've put together a list of essentials and some helpful extras for the most common repairs we'll cover.
Your DIY Cellular Shade Repair Toolkit
Tool Or Material | Primary Use | Where To Find |
|---|---|---|
Screwdriver | Removing shades from mounting brackets. | Any hardware store, your garage. |
Flat, Clean Surface | A safe place to work on the shade without damage. | A large dining table or clean floor. |
Replacement Lift Cord | Restringing a broken corded shade. | Online blind parts suppliers, some hardware stores. |
Restringing Needle | Threading a new cord through the cells and mechanisms. | Online blind parts suppliers, craft stores. |
Scissors | Cutting old and new cords cleanly. | Your home office or kitchen drawer. |
Phone Camera | Taking pictures of the disassembly process. | On your smartphone. |
Strong Fabric Glue | Reattaching a detached bottom rail. | Craft stores, hardware stores. |
Rubbing Alcohol | Cleaning surfaces before applying new adhesive. | Pharmacy, grocery store. |
Spring Clamps (Optional) | Holding a re-glued rail in place while it dries. | Hardware stores. |
Tape Measure (Optional) | Verifying measurements if replacing parts. | Your toolbox. |
Most of these are common household items, but specialized parts like lift cords or restringing needles are easily found online. Having them ready before you start is a huge time-saver.
Fixing A Crooked Or Uneven Shade
One of the most common things I hear about is a shade that hangs lopsided. It's distracting, right? This usually happens because the internal lift cords have stretched a bit unevenly over time, or one might have just slipped out of its guide. The result is that tilted bottom rail.
Good news: the fix is often way simpler than it seems.
Start by fully lowering the shade as far as it will go. This simple action often helps reset the whole mechanism and releases any weird tension that's built up in the cords.
Now, gently work with the cords. For a standard corded shade, find the cord that controls the lower side and give it a few gentle pulls to raise that side up. You might need to raise and lower the whole shade a couple of times to get the cords to settle back into their proper tracks.
If you've got a cordless shade, the idea is similar. After lowering it, give a few soft tugs on the crooked side of the bottom rail itself. This encourages the internal spring motor to re-engage the cords evenly. Once you've done that, slowly and smoothly raise the shade all the way to the top and then back down again.
Pro Tip: When you're adjusting a crooked cordless shade, always use slow, steady movements. A quick, jerky pull can actually make it worse by causing the internal spring to lock up.
How To Restring A Corded Cellular Shade
A frayed or completely snapped lift cord is another classic problem, especially on older shades that have seen a lot of use. All that friction eventually takes its toll. While restringing a shade is definitely more involved than just straightening it, it’s a project a determined DIYer can absolutely handle.
First things first, you'll need to carefully take the shade down from its mounting brackets. Find a clean, flat surface to work on, like a big table or a clear spot on the floor. You'll also need a replacement lift cord of the exact same thickness. This is critical—if the cord is too thick or too thin, the locking mechanism simply won't work correctly.
To get started, you’ll need to pop the end caps off the headrail and bottom rail to get a look at the inner workings. You'll be able to see exactly how the old cord was threaded through the cord lock at the top, down through the honeycomb cells, and anchored in the bottom rail.
Seriously, take photos with your phone at every step. This will be your visual roadmap for putting it all back together, and you'll be glad you have it when you're trying to remember how that little cord lock piece fits.
Remove the Old Cord: Carefully cut and pull out all the pieces of the old, broken cord.
Thread the New Cord: Using a restringing needle (or by taping the new cord to a long, thin wire), feed the new cord down through the cord lock, through the little holes in the fabric cells, and out the bottom.
Secure and Trim: Tie a good, secure knot at the end of the cord inside the bottom rail so it's properly anchored. Once everything is threaded, trim any excess cord, put the rails back together, and reinstall the shade.
Getting the shade installed correctly is just as important as the repair itself. For a great refresher, check out our Delmarva homeowner's guide on how to install cellular shades for detailed steps.
Reattaching A Detached Bottom Rail
Did the bottom rail literally fall off your shade? It happens, usually when the original adhesive gives up or the rail gets yanked a little too hard. Thankfully, this is a pretty easy glue-up job.
Your first step is to figure out what was holding it in place. Most of the time, the bottom edge of the fabric is tucked into a channel in the rail and held fast with either a plastic strip or adhesive.
If a plastic strip was used, you can often just slide everything back into place. Lay the shade flat, carefully line up the fabric edge with the channel, and then gently push that plastic strip back in to lock it all down.
If it was held with glue, you’ll need a strong, flexible fabric glue or even a high-quality, permanent double-sided tape. Before you apply anything new, clean both the rail's channel and the fabric edge with a bit of rubbing alcohol. This gets rid of any dust or old adhesive gunk.
Apply a thin, even line of your new adhesive inside the channel and carefully press the fabric into it. I recommend using spring clamps or just laying some heavy books on top of the rail to apply even pressure while the glue fully cures. Be patient—this can take up to 24 hours.
For homeowners in Salisbury or Rehoboth Beach dealing with more complex issues, sometimes calling in a pro is the best move. Home Blinds & Floors offers a huge selection of custom blinds and shades in Delmarva, and our expert installers can bring the showroom right to your living room.
When to Call a Pro for Your Cellular Shade Repair

While many cellular shade repairs are totally doable on your own, some problems are a clear signal to step back and call in a pro. When you're up against issues with sophisticated motorized systems or significant fabric damage, a wrong move can quickly turn a repair job into a costly replacement. Knowing when you're in over your head can save you a ton of frustration—and often, money in the long run.
Tackling Tricky Motorized and Fabric Problems
Motorized shades, for all their convenience, bring electronics and complex mechanics into the mix. When they start acting up, the root cause isn't always obvious. Likewise, any real damage to the honeycomb fabric doesn't just look bad—it can ruin the insulating properties that make these shades so great in the first place.
Here are the most common signs it's time to call for backup:
Completely Jammed Internal Mechanism: The shade is frozen solid and won't move an inch. This usually means the internal spring motor or cord lock has failed. Forcing it is a surefire way to wreck the headrail for good.
Multiple Broken Cords: Restringing one cord is one thing, but when you have two or more broken on the same shade, it becomes a real puzzle. Getting the tension perfectly balanced across all of them is tricky, and if you get it wrong, the shade will never hang straight.
Top-Down/Bottom-Up Functionality Fails: These shades are fantastic, but their dual-cord system is twice as complex. If the top rail won't drop or the bottom rail is stuck, it's a sign of a complicated internal issue that's best left to someone who's done it a hundred times.
Major Motor Malfunctions: You’ve swapped the batteries and tried the remote reset tricks, but the motor is still unresponsive, noisy, or choppy. At this point, the motor itself is the likely culprit. Taking a motor apart is a job for a technician, not a DIYer.
For homeowners on Delmarva dealing with these kinds of issues, Home Blinds & Floors provides professional installation and repair services throughout Sussex, Wicomico, and Kent counties. Our team knows exactly how to handle these advanced problems.
Protecting Your Warranty and Investment
Your cellular shades are a real investment in your home. When you have products still under warranty from brands like Hunter Douglas or Graber, it’s critical to play by the manufacturer's rules. Prying open a motor or trying to fix a snapped internal lift tape on your own can be seen as improper handling, which could easily get your warranty claim denied.
An expert repair doesn't just solve today's problem; it ensures your shades work smoothly for years to come. You can learn more about the benefits of professional work in our guide to expert blind installation and repair on the Delmarva Peninsula.
Calling a professional guarantees the job is done with the right parts and techniques, keeping your warranty intact and your shades functioning perfectly. From our free in-home consultations to expert repairs, Home Blinds & Floors is here to take the stress out of maintaining your window treatments.
FAQ: Cellular Shade Repair in Delmarva
How much does it cost to repair cellular shades in Salisbury or Rehoboth Beach?
The cost depends on the issue. A simple fix like reattaching a rail may be under $100. A more involved repair, such as a full restringing for a standard window, typically ranges from $150 to $300. Complex motorized or top-down/bottom-up system repairs will cost more. The best way to get an accurate price is to schedule a free in-home consultation.
Can you repair the fabric on honeycomb shades if it is torn?
It depends on the damage. Small, clean punctures can often be repaired with a special clear fabric adhesive to restore the look and insulation. However, for large rips, widespread crushing, or major stains, a professional repair or replacement is usually the better option to avoid making the damage more noticeable.
Is it worth repairing older cellular shades?
Absolutely, in most cases. If the fabric on your high-quality shades is still in good condition (not faded or brittle), repairing the lift mechanism is a smart investment. A professional repair can add another 5-10 years of life to your shades, allowing you to continue benefiting from their energy-saving properties and protecting your original investment.
What cities in Delmarva do you serve?
Home Blinds & Floors provides mobile service across the entire Delmarva Peninsula. This includes all of Sussex and Kent Counties in Delaware (Rehoboth Beach, Lewes, etc.) and Wicomico, Worcester, Talbot, and Queen Anne's counties in Maryland (Salisbury, Ocean City, Easton, etc.). We bring our expertise and showroom directly to your home or business.
Your Local Delmarva Cellular Shade Repair Experts
In summary, Home Blinds & Floors provides custom window treatments, expert advice, and in-home service to homes across the Delmarva Peninsula. From Rehoboth Beach to Easton, our team is here to help you choose the best shades, shutters, or blinds for your space and keep them functioning perfectly for years to come. Whether you need a simple repair or are considering a full upgrade, we bring the solutions to you. Schedule your free consultation today.