.avif)
.avif)
.avif)
Your Expert Guide to Vertical Blinds Installation in Delmarva
- Johann Reardon

- Nov 11, 2025
- 13 min read
TL;DR: Successful vertical blind installation hinges on precise measurements, choosing between an inside or outside mount, and securing a perfectly level headrail. Key steps include gathering the right tools (tape measure, level, drill), carefully marking and mounting brackets, hanging each vane correctly, and making final adjustments to controls and the valance. For a flawless, stress-free result, the expert team at Home Blinds & Floors offers professional installation across the Delmarva Peninsula.
Struggling with how to properly handle the installation of vertical blinds for your sliding glass door or large window? You're not alone. The secret to a perfect, professional-looking installation isn't just in the final steps—it's all in the prep work. At Home Blinds & Floors, we help homeowners across the Eastern Shore achieve flawless results. This guide will walk you through everything you need to do, from getting your measurements just right to gathering the tools that will make the job a breeze.
Choosing the Right Vertical Blinds for Your Delmarva Home
Before a single vane is unboxed, a bit of planning will save you a world of headaches later. The very first decision you need to make is whether you’re going with an inside mount or an outside mount. This choice changes everything, especially how you’ll measure your windows.
An inside mount is exactly what it sounds like: the blinds fit snugly right inside the window frame. It creates a really clean, built-in look and is fantastic if you want to show off some beautiful window molding. On the other hand, an outside mount goes on the wall or trim above the window. This is a great trick to make a window feel bigger, and it’s your only option if your window frame isn’t deep enough. For a more detailed walkthrough, check out our guide on how to measure for blinds.
Home Blinds & Floors offers a wide selection of custom blinds and shades in Delmarva, with expert installers who bring the showroom to your living room. During our free in-home consultations in Salisbury and Rehoboth Beach, we help you choose the style that fits your home's unique character.
Essential Tools For The Job
There's nothing worse than getting halfway through a project only to realize you're missing a crucial tool. That mid-project run to the hardware store is a real momentum killer. To avoid it, get these essentials lined up before you start:
Steel Tape Measure: Forget the flimsy ones. You need this for accuracy.
Sturdy Pencil: For clear, easy-to-see marks.
Level: A 24-inch level is your best friend for making sure the headrail is perfectly horizontal.
Power Drill: Make sure you have the right bits for your wall material—wood, drywall, and masonry all need different types.
Screwdriver: Most installations will call for a Phillips head.
Safety Goggles: An absolute must. Protect your eyes from dust and debris.
Having these laid out and ready will make the whole process feel less like a chore and more like a satisfying weekend project. And if you're tackling this in a rental property, it's wise to get familiar with your guide on landlord responsibilities for repairs as part of your planning.
Inside Mount vs Outside Mount What You Need to Know
Choosing the right mount is the foundation of a great installation. It impacts your measurements, the hardware you’ll need, and the final look. To help you decide what’s best for your Delmarva home, here's a quick side-by-side look.
Attribute | Inside Mount | Outside Mount |
|---|---|---|
Aesthetic | Clean, minimalist, and built-in look that highlights window trim. | Creates a larger appearance for the window and can hide imperfect molding. |
Measurements | Requires precise width and height measurements of the inside of the window frame. | Measure the area you want the blinds to cover, adding overlap for privacy. |
Light Control | Allows for minimal light gaps along the sides. | Offers superior light blocking and privacy due to the overlap on the sides. |
Best For | Windows with sufficient depth and attractive molding. | Shallow window frames, covering imperfections, or maximizing light blockage. |
It's no surprise that vertical blinds are so popular. The entire global blinds and shades market was valued at an impressive USD 14.82 billion in 2024, and blinds themselves accounted for over 58% of that revenue. With the market expected to keep growing, it’s clear that homeowners are continuing to invest in window treatments that are both stylish and functional. You can find more on these trends over at GrandViewResearch.com. This just goes to show how much value there is in getting the installation done right the first time.
Benefits of Professional Vertical Blind Installation
Think of the headrail as the command center for your new vertical blinds. It's the foundation of the whole system. If it isn't perfectly level and securely mounted, you're setting yourself up for headaches down the road—uneven slats, jerky operation, and just general frustration.
Getting this part of the installation vertical blinds process right is all about precision. A perfectly horizontal track is the secret to ensuring the vanes hang straight and glide smoothly. It's what keeps them from creeping to one side on their own, a dead giveaway of a rushed job.
Marking and Mounting Your Brackets
First things first, let's get those bracket locations marked. Grab your pencil and tape measure and lightly mark where each bracket will go, usually about two to three inches in from each end of the headrail.
Got a wide window? If it's over 72 inches, you'll absolutely need a center support bracket. This is non-negotiable if you want to prevent the headrail from sagging under its own weight over time.
Once your spots are marked, hold a bracket up and mark the screw holes. Now, pull out your level—it's your best friend for this step. Before you even think about drilling, hold the headrail up against your marks and place the level on top. Is it perfectly horizontal? Good.
Pro Tip: Never assume your window frame is level. I’ve seen it a thousand times, especially in older Eastern Shore homes where things have settled over the years. Relying on the frame instead of a proper level is a surefire way to end up with slanted blinds.
Drilling and Fastening with Confidence
With your bracket locations double-checked and confirmed level, it's time to drill. The trick here is to create pilot holes that are just a bit smaller than the diameter of your screws. This simple step is a game-changer; it keeps the wood from splitting and gives the screws much more to bite into for a super-secure hold.
The type of wall you're working with will determine the hardware you need.
Drywall: This is where wall anchors are essential. Use them with the provided screws. The anchor expands behind the drywall, creating a far stronger hold than a screw on its own could ever manage.
Wood Trim: If you're mounting on solid wood, you're in luck. You can drill directly into it, and the pilot hole will ensure a tight fit without causing any damage.
Concrete or Brick: This job calls for the heavy hitters. You'll need a masonry drill bit and either concrete screws or specialized anchors to lock those brackets firmly in place.
As a local, family-run business, Home Blinds & Floors provides personal service, competitive pricing, and professional installation throughout Sussex, Wicomico, Kent, and beyond. We make sure every headrail we touch is perfectly level for years of reliable use. If you run into something unexpected, checking out expert blind installation and repair on the Delmarva Peninsula can save you a lot of trouble.
This infographic really breaks down the essentials for getting the prep work right.
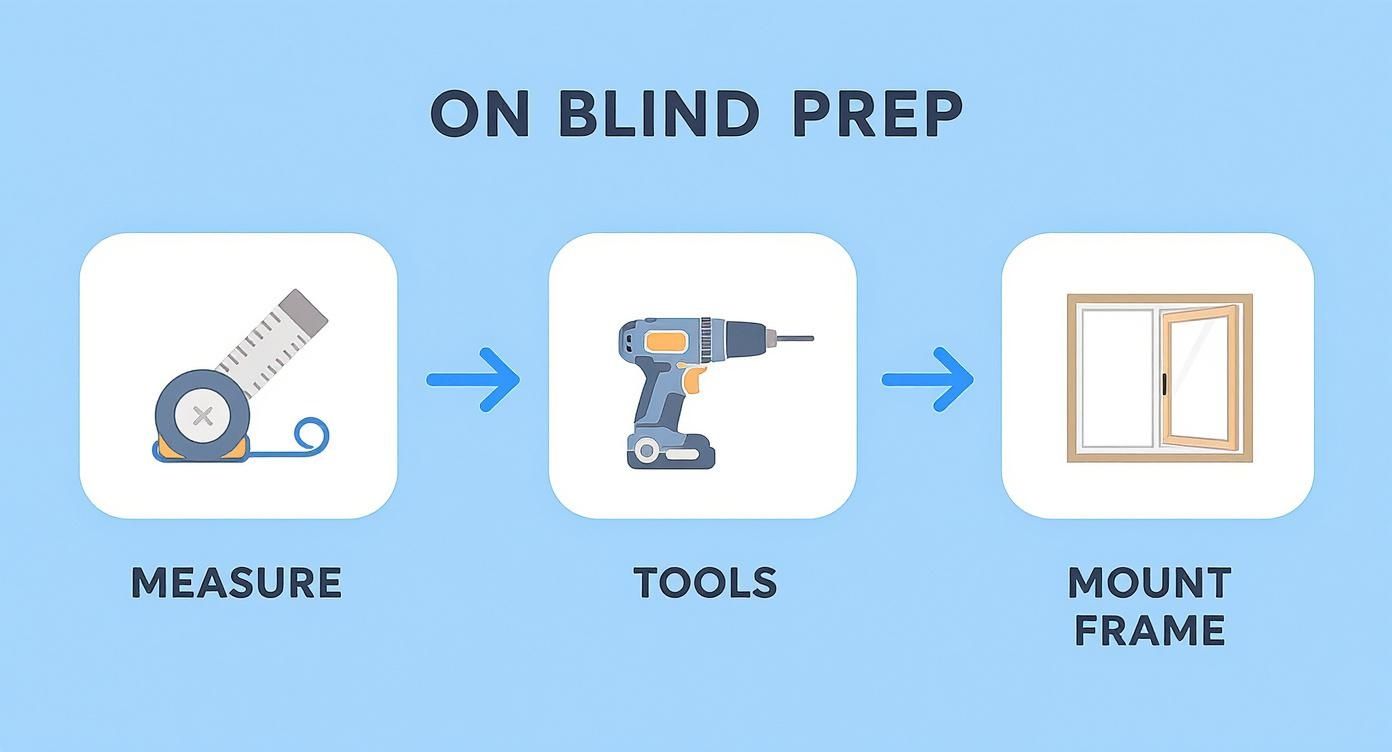
It drives home the point that a solid installation all comes down to careful measuring and having the right tools for the job.
Interestingly, these core principles pop up in other home projects, too. The process is surprisingly similar to installing sliding wardrobe door tracks, where a level and securely mounted track is just as critical for everything to work smoothly.
Once your brackets are rock-solid on the wall or ceiling, it's the moment of truth. Go ahead and clip the headrail into place. You should hear and feel a satisfying "click" as it locks in. Give it a gentle tug just to be certain it's not going anywhere. A secure headrail is the true cornerstone of a great vertical blind installation, paving the way for years of flawless performance.
Hanging and Aligning the Vanes
Now for the fun part. With your headrail firmly in place, it’s time to hang the vanes and watch your new window treatment finally take shape. This is where the whole project really comes together.
Each vane, whether it’s a sturdy PVC or a softer fabric, has a little slot at the top. You’ll simply hook this slot onto one of the plastic carrier stems hanging from the headrail. Slide it up until you hear a solid "click." That click is your signal that it's locked in securely and won't pop off later.

From free in-home consultations to flawless installation, Home Blinds & Floors takes the stress out of selecting window treatments. We make sure every single vane hangs perfectly, giving our Delmarva clients that crisp, professional look they love.
Getting the Alignment Just Right
As you go, make sure every vane is facing the same direction. It’s a small detail that makes a huge difference. Most vanes have a slight curve, so just decide if you want the curve facing into the room or out toward the glass, and be consistent all the way across.
After hanging all the vanes, step back and give it a good look. Are they all hanging at the same height? Is the spacing between them even? If you spot a problem, don't sweat it. The carrier stems can be nudged a little to get things perfectly aligned.
A Pro Tip: Sometimes one vane won't rotate with the others. This usually means its stem got turned around. Just reach up and gently twist the stubborn stem with your fingers. It should click back into alignment with the rest.
A Quick Word on Different Materials
How you handle the vanes depends on what they’re made of. You’ll want to use a slightly different touch for each type to prevent any accidental damage.
PVC or Vinyl Vanes: These are tough and pretty forgiving. They’re rigid, which is great, but try not to bend them too sharply—you could leave a permanent crease.
Fabric Vanes: Be extra gentle here, especially with lighter colors. Make sure your hands are clean to avoid leaving smudges. Fabric can wrinkle, so get them hung up right after you unbox them and let gravity do the work of smoothing them out.
Vertical blinds have become a go-to for a reason; they offer incredible control and style. This isn't just a local trend, either. The global vertical window blinds market is expected to hit around USD 5.5 billion by 2025. That massive growth is driven by new home construction and homeowners wanting practical, stylish solutions for large windows and patio doors. You can find more insights about this growing market and what's behind the demand.
Taking your time to hang and align the vanes properly is what separates a decent DIY job from a flawless, professional-looking installation. It’s this final attention to detail that will make you proud of your work for years to come and really complete the look of your Delmarva home.
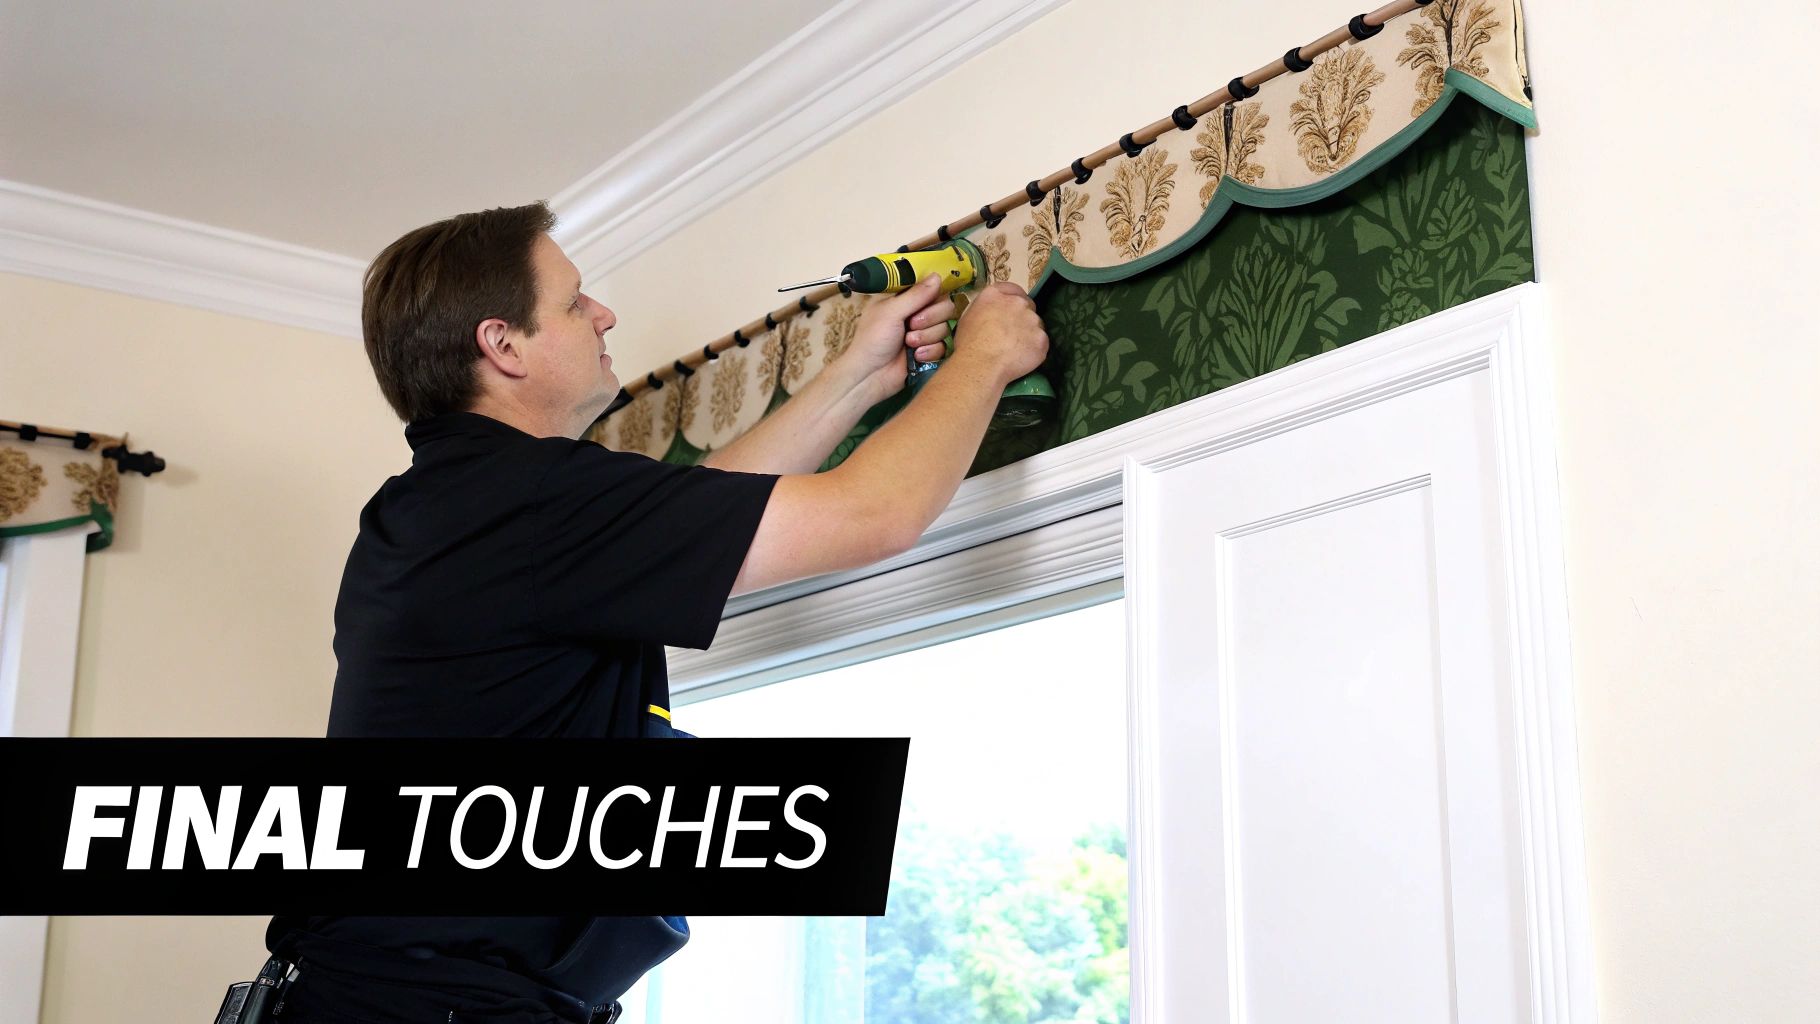
Adding the Final Touches: Valances and Controls
Alright, the heavy lifting is done. Now it's time for the details that take your project from just "installed" to "professionally finished." This part is all about adding the valance for a clean, polished look and getting the controls dialed in for smooth, easy operation.
Think of the valance as the frame for your new window treatment. It’s not just for looks—it neatly hides the headrail and all the mounting hardware, giving you that high-end, cohesive appearance.
Once the valance is on, we'll get the controls working perfectly. Whether you went with a traditional cord and chain, a simple wand, or a slick motorized system, a few quick adjustments will ensure they work exactly as you expect right from the start.
Getting the Valance On
Most valances are pretty straightforward. They usually come with a handful of clips that you’ll snap directly onto the headrail. Just space them out evenly across the front, and you should hear a satisfying click as each one locks into place.
If your valance has side pieces (we call them "returns"), their job is to cover the ends of the headrail for a completely finished look. You’ll want to connect these corner pieces to the main front section before attaching the whole unit to the clips on the headrail. This creates a neat, box-like frame around the top of your blinds.
Insider Tip: Be gentle but firm when snapping the valance on. Those clips are designed to grip tightly, but forcing them can break the plastic. If one is giving you trouble, double-check that it’s lined up with the groove on the headrail before pushing harder.
Dialing In the Controls for Perfect Operation
With the valance looking sharp, let's make sure everything works perfectly. Running the blinds through their paces now ensures they’ll open, close, and tilt without a hitch for years. The process just depends on which control system you have.
Control Types and Adjustments
Cord and Chain: You've got two things to check here. The beaded chain should rotate the vanes a full 180 degrees without any catching or hesitation. The cord should pull the whole stack of vanes smoothly from one side to the other. Give it a few test runs.
Wand Control: This is the simplest system. A quick twist of the wand should rotate the vanes, and a push or pull should slide them open or closed. Make sure the wand feels secure in its holder and that the vanes respond right away.
Motorized Systems: For automated blinds, the key is setting the open and close limits with the remote. This tells the motor precisely where to stop on each end of the track. It’s a crucial step to prevent motor strain and get that perfect, consistent alignment every single time.
Getting a motorized system fine-tuned is what delivers that truly modern, effortless experience. If you're thinking about an upgrade, we cover all the options in our guide to motorized blinds for your Delmarva home.
As a local, family-run business, Home Blinds & Floors prides itself on personal service and expert installation throughout Sussex, Wicomico, and Kent counties. We take care of all this fine-tuning, so your new window treatments work flawlessly from day one. Taking a few extra minutes on the valance and controls is what gives your project that polished, professional finish.
Smoothing Out the Wrinkles: How to Troubleshoot Your Installation
Even the most carefully planned installation can hit a few bumps. Maybe a couple of vanes are out of sync, or the controls feel a little stiff. Don't sweat it. Nine times out of ten, these are minor hiccups that you can fix in minutes with a simple adjustment.
Think of this as your go-to guide for making those final tweaks. Let's walk through the most common issues and get your new blinds looking and working perfectly.
Vanes Are Misaligned or Not Rotating Together
This is probably the number one problem people run into. You go to open or close the blinds, and one or two stubborn vanes just won't play along. They'll either stay put or face the complete opposite direction from the rest.
The good news is that the fix is incredibly simple. This almost always happens because a carrier stem—that little plastic clip holding the vane—got knocked out of alignment during shipping or installation. All you have to do is gently reach up and twist the stem of the rogue vane by hand. You'll feel a little click as it snaps back into sync with its neighbors. Problem solved.
The Headrail Sags in the Middle
If you step back and see a noticeable dip in the middle of the headrail, that’s a red flag. It means the track isn't getting enough support, and this is something you need to address right away. Over time, that sag will only get worse, which can jam the mechanism and even damage the headrail permanently.
The solution is to add a center support bracket. For any window wider than 72 inches, this isn't optional—it's essential. You'll have to take the headrail back down, securely mount the new bracket to the wall or ceiling at the halfway point, and then reinstall the track. That extra anchor point will keep it straight and ensure everything glides smoothly for years.
Controls Feel Stiff or Jerky
Are you having to wrestle with the controls? Whether you have a chain, cord, or wand, any stiffness or jerky movement usually points to something getting in the way inside the headrail.
Your first move should be a visual inspection. Look down the track for any bits of debris or a component that might have shifted out of place. If the track looks clean, the issue could be related to the cord tension or the carrier stems bunching up on one another. For a deeper dive into these kinds of mechanical fixes, our guide on how to fix broken vertical blinds in Delmarva is a great resource for more complex operational problems.
Quick Fixes for Common Vertical Blind Issues
Sometimes you just need a fast answer. I've put together this quick-glance table to help you pinpoint the issue and get your project back on track without missing a beat.
Common Problem | Potential Cause | Solution |
|---|---|---|
Vanes Stack Unevenly | Carrier stems are bunched up or the cord is tangled at one end of the headrail. | Gently slide the vanes by hand to redistribute them along the track and ensure the pull cord is not caught. |
Blinds Don't Close Fully | The carrier stems are not fully extended, or the control mechanism is hitting its limit too soon. | Check for obstructions in the track. For motorized blinds, recalibrate the "close" limit setting. |
Vanes Are Different Lengths | Vanes were not fully clipped into their carrier stems, causing some to hang lower. | Firmly press up on the bottom of each low-hanging vane until you hear a distinct "click" as it secures. |
Most of the time, these little installation quirks are minor and easy to sort out. But if you’ve tried a fix and it’s still not right, or if you’re just not comfortable fiddling with it yourself, there's no shame in calling for a hand from a pro.
Frequently Asked Questions About Vertical Blind Installation
Even the most straightforward DIY project can hit a snag. To help you wrap up your installation with confidence, here are the answers to some of the most common questions we hear from homeowners across the Delmarva Peninsula.
What is the hardest part of installing vertical blinds?
For most people, the trickiest part is getting the headrail perfectly level and securely mounted. A headrail that's even slightly off-kilter can cause vanes to hang crookedly or prevent the blinds from opening and closing smoothly. Taking an extra five minutes to double-check with a level and drill proper pilot holes will save you a massive headache later.
Can I cut vertical blind vanes if they are too long?
While PVC or vinyl vanes can technically be trimmed, achieving a clean, straight cut is difficult without a specialized tool. We always recommend ordering custom-sized vertical blinds to ensure a perfect fit from the start. At Home Blinds & Floors, we take precise measurements during our free in-home consultation to guarantee your new blinds fit perfectly right out of the box—no cutting, no stress.
How do I choose between an inside mount and an outside mount?
This decision depends on your window frame and desired aesthetic. An inside mount offers a clean, built-in look and is ideal for deep window frames with attractive molding. An outside mount is installed above the window, making the window appear larger and providing superior light control. It's the best choice for shallow frames or to hide imperfect trim.
What cities in Delmarva do you serve?
Home Blinds & Floors proudly serves homeowners and businesses across the entire Delmarva Peninsula. Our expert installation team covers all of Delaware's Sussex and Kent Counties, including communities like Rehoboth Beach, Lewes, and Dover. We also serve Maryland's Eastern Shore, including Wicomico, Worcester, Talbot, and Queen Anne's Counties, bringing our services to clients in Salisbury, Ocean City, Easton, and beyond.
Once your blinds are up, you'll want to keep them looking their best. For some easy maintenance tips, check out our guide on how to clean vertical blinds for Delmarva homeowners.
In summary, Home Blinds & Floors provides custom window treatments, expert advice, and in-home service to homes across the Delmarva Peninsula. From Rehoboth Beach to Easton, our team is here to help you choose the best shades, shutters, or blinds for your space. Schedule your free consultation today.


Comments