A Homeowner's Guide: How to Remove Hunter Douglas Blinds in Delmarva
- Johann Reardon
- Aug 15, 2025
- 7 min read
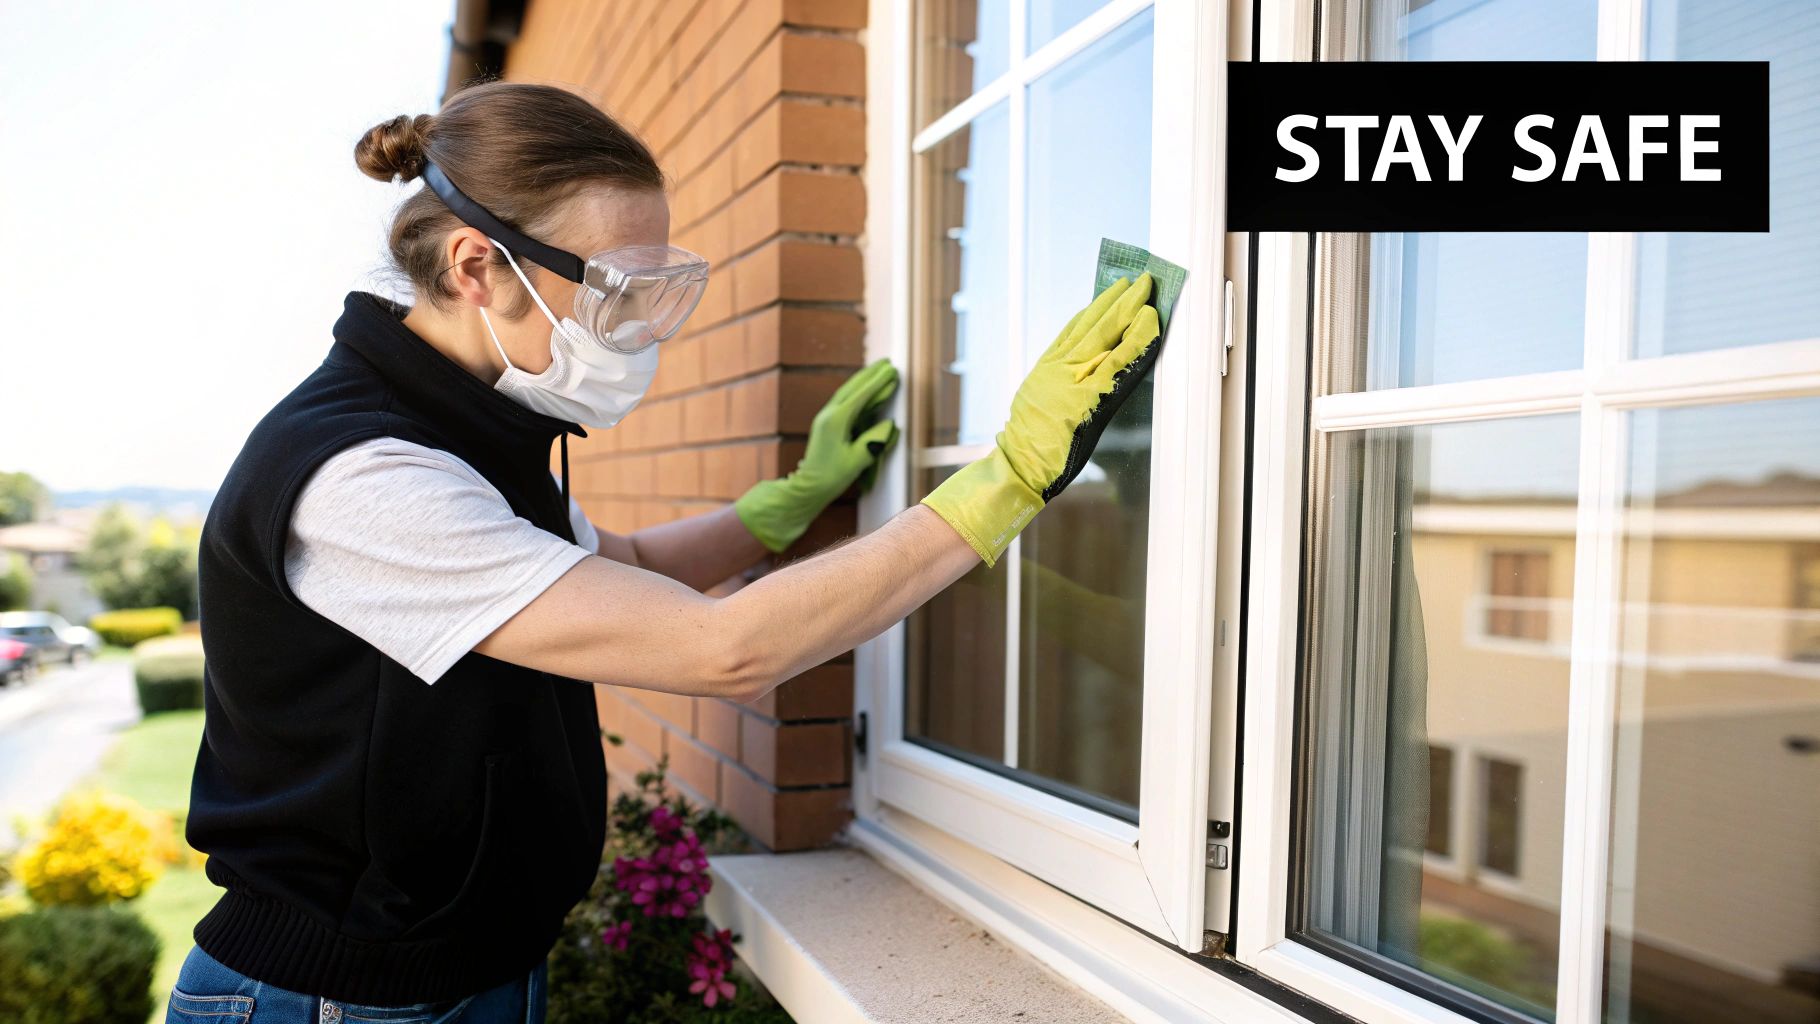
TL;DR: To remove most Hunter Douglas blinds, first raise them completely. Use a flathead screwdriver to open the locking tabs on the mounting brackets for wood or faux wood blinds. For cellular shades, find a tab to press or push. For motorized or specialty shades like Silhouette® or PowerView®, disconnect the power source first and handle with extreme care to avoid damaging delicate components. When in doubt, call a professional to prevent damage.
Planning to paint a room or just give your windows a deep clean, but not sure how to remove Hunter Douglas blinds without causing damage? It's a common question we hear from homeowners across the Delmarva Peninsula. At Home Blinds & Floors, we know that these premium window treatments are an investment, and handling them correctly is key. The good news is, with the right technique, removing most models is a straightforward task.
This guide will walk you through the process, from identifying your bracket type to safely storing your blinds, ensuring your project in Salisbury, Rehoboth Beach, or anywhere on the Eastern Shore goes smoothly.
Your Quick Guide to Removing Hunter Douglas Blinds
Taking down high-quality window treatments can feel a bit daunting. The last thing you want is to damage an expensive blind, your trim, or the wall. The secret is all in the brackets. Hunter Douglas uses different styles for their various products, and knowing which one you have is half the battle.
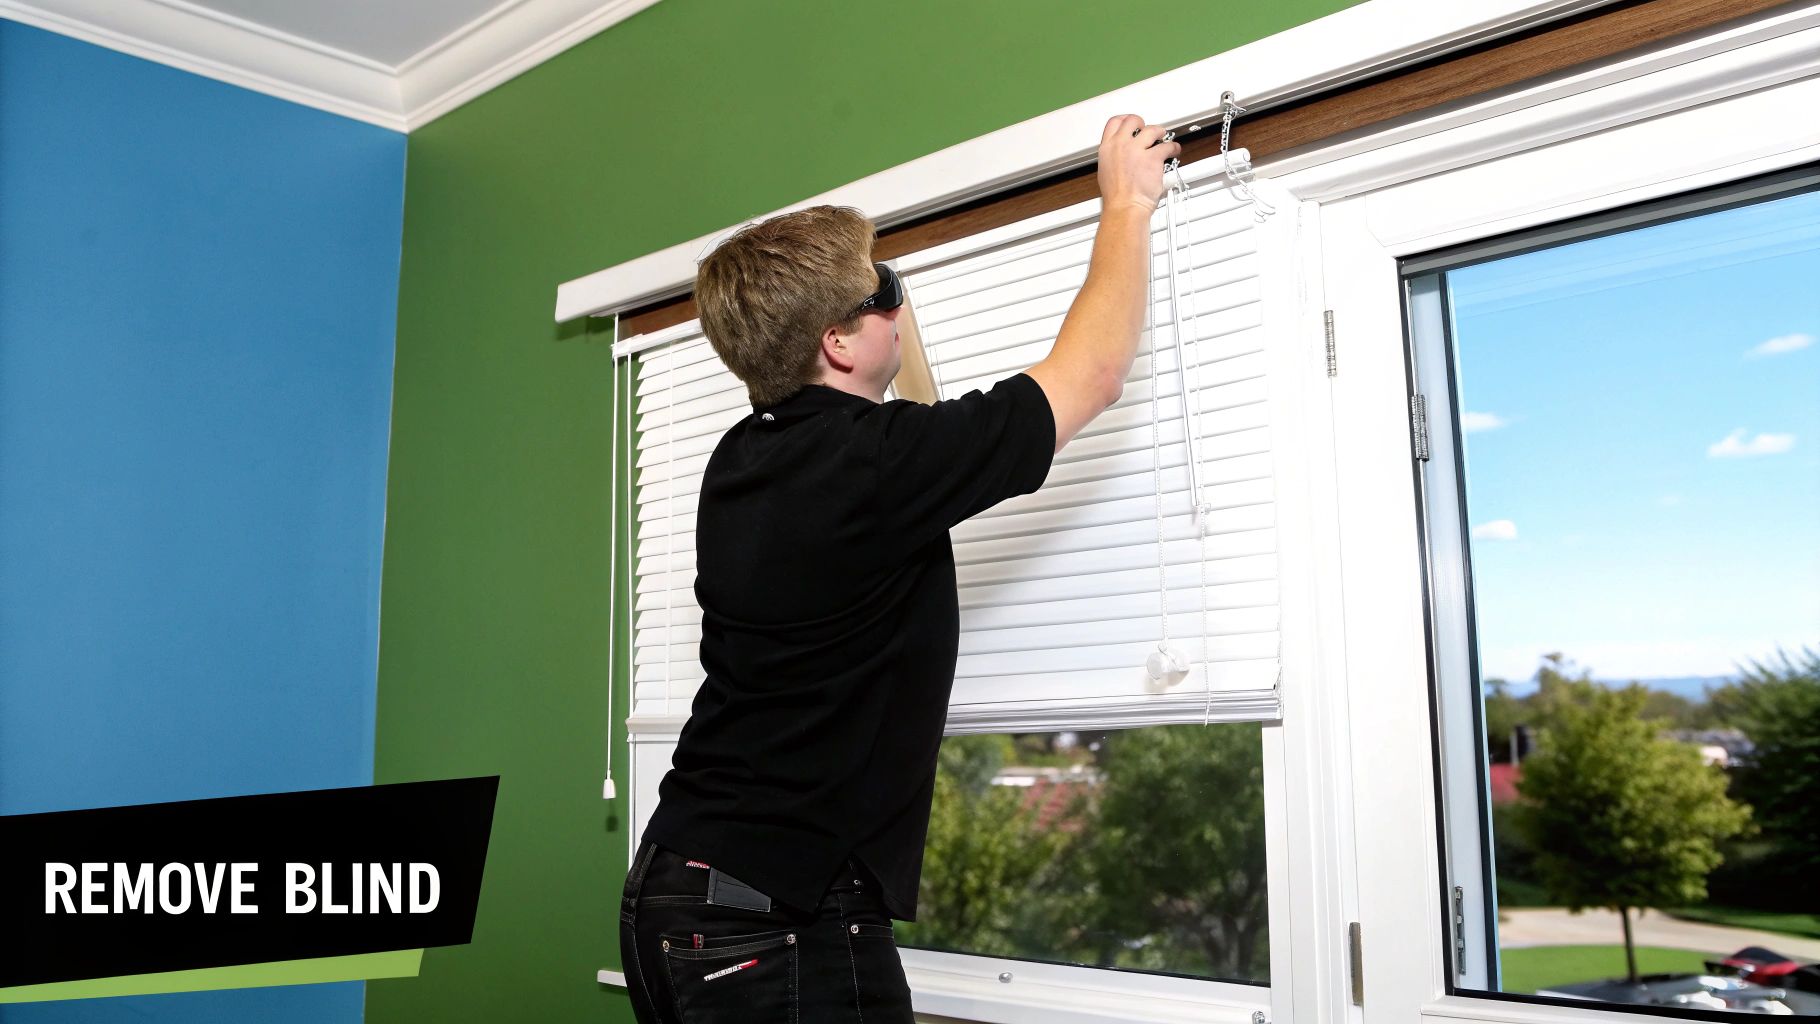
Before you climb up on that ladder, grab a flathead screwdriver—it's usually the only tool you'll need. It's also smart to have a helper nearby, particularly for larger windows, to help you support the blind as it comes loose. As a local, family-run business, Home Blinds & Floors provides personal service, competitive pricing, and professional installation throughout Sussex, Wicomico, Kent, and beyond, and we're happy to share our expertise.
Tools and Techniques for Common Hunter Douglas Blinds
To make things even easier, here's a quick reference table. Just find your blind type below to see what tool you'll need and how to release the bracket. A quick look before you start can prevent you from accidentally forcing a clip and breaking it.
Blind Type | Required Tool(s) | Bracket Release Action |
|---|---|---|
Wood & Faux Wood Blinds | Flathead Screwdriver | Gently pry open the hinged locking tab on the front of each bracket. |
Cellular & Pleated Shades | None or Screwdriver | Push back or use a screwdriver to depress a tab on the back of the bracket. |
Silhouette® Shades | Screwdriver or fingers | Push in and twist a small tab or lever located on the bracket. |
Vertical Blinds | None | Rotate the valance clips and gently unhook each vane from its carrier. |
This table covers the most common scenarios. Of course, with custom window treatments, you might encounter unique hardware. If something doesn't seem to want to budge, take a step back. It's always better to pause than to risk breaking a crucial part.
Why Identifying Your Blinds & Brackets is Crucial

The difference between a quick, smooth removal and a frustrating mess is knowing exactly what you’re working with before you touch a single tool. If you just start prying and pulling, you risk damaging the headrail, the bracket, or your window frame. A simple task can get expensive, fast.
Hunter Douglas uses a few different bracket designs across their product lines—including popular faux wood blinds and vertical blinds—and each one unhooks in its own specific way. Taking a moment to identify your system will save you a world of trouble. From free in-home consultations to flawless installation, Home Blinds & Floors takes the stress out of selecting and maintaining your window treatments.
Common Hunter Douglas Bracket Styles
Let's walk through the most common designs we see in homes across the Delmarva Peninsula, from Salisbury to Rehoboth Beach.
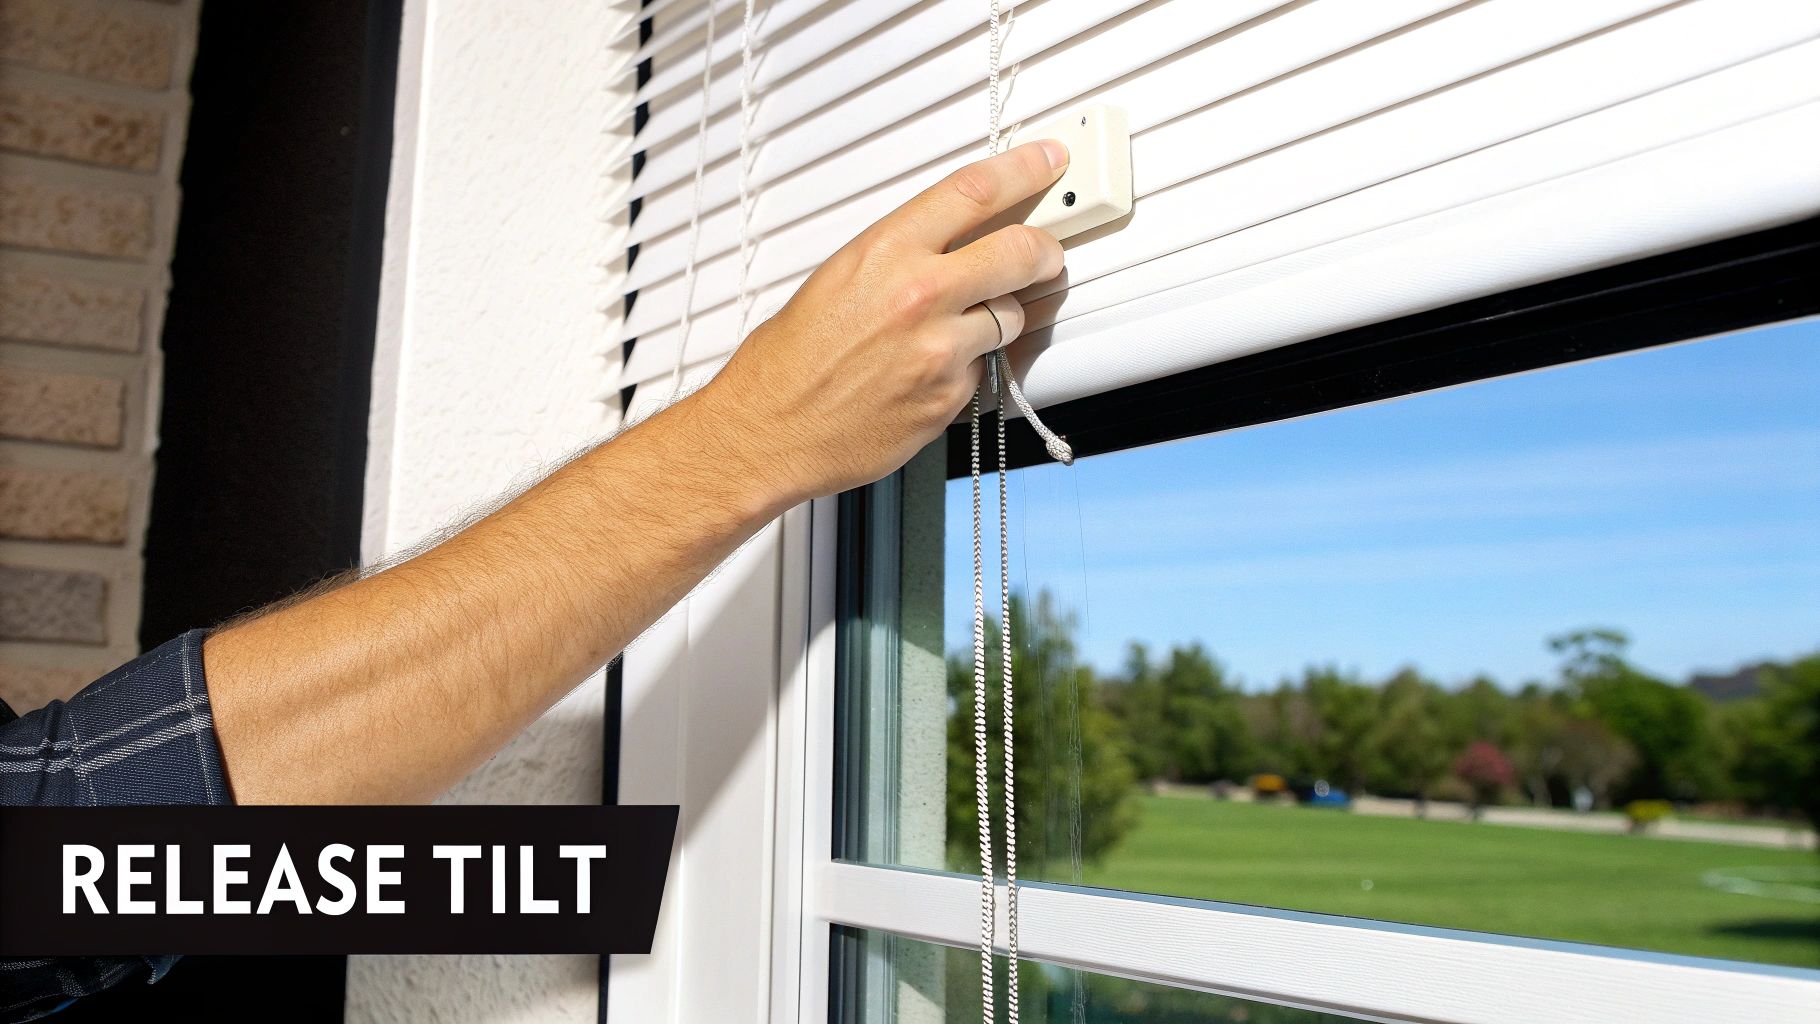
Standard Locking-Tab Brackets: You'll find these on most wood and faux wood blinds. Look for a small, hinged "door" on the front of the bracket. This tab is what holds the headrail securely in place.
Box Brackets: These are the go-to for cellular and pleated shades. The bracket literally looks like a box that the ends of the headrail slide into. To get it out, you'll need to find a small tab to press or a lever to turn.
Spring-Loaded Brackets: Many modern styles, especially roller shades, use these clever brackets. The idea is to push the entire headrail toward one side, which compresses a spring and gives you enough wiggle room to pop the other side out.
Pro Tip: Before you grab a screwdriver, snap a quick photo of the bracket with your phone. It’s a great reference to have on hand, especially if you need to look up a video or diagram for your specific model.
Knowing your bracket type is just as important as getting your measurements right. For more tips on getting the fundamentals correct, take a look at our expert guide on how to measure for blinds.
Handling Specialty and Motorized Hunter Douglas Shades
When you're ready to take down specialty shades like a Silhouette, Pirouette, or any of the PowerView motorized models, you'll need a different approach. These aren't your run-of-the-mill blinds. Their advanced design and integrated tech mean you have to be more careful.

Before you do anything else with a motorized shade, the first rule is simple: disconnect the power. This is non-negotiable. For many, this is as easy as unplugging the battery wand from its magnetic clip near the headrail. If your system is hardwired, you'll need to shut it off at the circuit breaker. Don't skip this step.
Trying to force things can easily lead to tearing the delicate sheer fabrics of a Silhouette or, worse, damaging the sensitive motor inside a PowerView headrail. This is precisely why many of our clients across the Delmarva Peninsula call in a professional for these more advanced systems.
Protecting Your Smart Home Investment
Automated blinds need a gentle hand because of their built-in motors and sensors. In fact, DIY removal attempts can result in a 20-30% chance of damaging the automation components, which often means expensive repairs. The market for these products is growing fast, as you can see from insights on the automated shades market here.
This complexity is a big reason why people wonder if the convenience is worth it. If you're currently weighing your options, you might find our guide on whether motorized blinds are worth it for your home helpful.
The brackets on these specialty shades are often different. Some have a spring-loaded system, while others use a small lever that has to be turned just so. Trying to yank a shade out of a bracket can snap the plastic or bend the headrail, potentially ruining the whole unit.
Home Blinds & Floors offers a wide selection of custom blinds and shades in Delmarva, with expert installers who bring the showroom to your living room. We ensure your smart home investment is always protected, whether we're installing, removing, or servicing your shades.
What to Do After Your Blinds Come Down

You’ve successfully taken your Hunter Douglas blinds off the wall. Now what? What you do next is just as crucial for keeping them in great shape. Grab a Ziploc bag and a marker. As soon as a screw or bracket comes off the wall, it goes straight into the bag. Label it with the room name, and you'll save yourself a massive headache when it's time to put everything back up.
Another classic blunder is damaging the slats. It’s so tempting to just lean the blinds against the nearest wall, but that's an invitation for them to get knocked over, creased, or bent.
Storing Your Blinds the Right Way
How you store your blinds really matters, especially depending on the material. If you've invested in beautiful real wood blinds, the absolute worst place for them is a damp basement or a humid garage. That moisture in the air will warp the wood, and they'll never hang straight again.
Here’s a much better approach:
Wrap them up: Gently wrap the blinds in an old sheet or a soft blanket. This protects them from getting dusty and scratched.
Lay them flat: Find a safe, out-of-the-way spot where they can lie completely flat. Underneath a bed or on a high, sturdy closet shelf are both perfect options.
This simple routine keeps them pristine. Keeping all the original hardware intact is also vital if you ever plan to resell them, a detail often overlooked but supported by research on the blinds market.
Expert Insight: Before you wrap them up, give the blinds a quick but thorough dusting. For a deeper dive, check out our guide on [how to clean blinds for sparkling windows](https://www.homeblindsandfloors.com/post/how-to-clean-blinds-easy-tips-for-sparkling-windows).
Of course, this is where having a professional in your corner pays off. When you work with Home Blinds & Floors, we handle everything, taking the worry completely off your plate.
FAQ: Removing Hunter Douglas Blinds
Here are a few quick answers to common questions we get from homeowners across the Eastern Shore about removing their window treatments.
Do I need special tools to remove Hunter Douglas blinds?
For most standard models, a simple flathead screwdriver is all you need to open the bracket tabs. However, some newer styles have spring-loaded mechanisms designed for hand release. Always inspect the bracket first to avoid using force and causing damage.
Will I void my warranty if I remove my PowerView® shades myself?
It's possible. Motorized shades like PowerView® contain delicate electronic components. Damage caused during DIY removal is often not covered by the manufacturer's warranty. To protect your investment, we recommend professional service for any automated systems.
Which Hunter Douglas blinds are hardest to remove?
Specialty products like Silhouette® or Luminette® sheers and any motorized shades are the most challenging due to their complex mechanisms and delicate fabrics. Large, heavy wood blinds can also be difficult to handle safely without a helper.
What cities in Delmarva do you serve?
Home Blinds & Floors proudly serves the entire Delmarva Peninsula, including Salisbury, Ocean City, and Berlin in Maryland, and Rehoboth Beach, Lewes, and all of Sussex and Kent counties in Delaware. We bring our mobile showroom to you for a free in-home consultation.
Your Local Delmarva Window Treatment Experts
In summary, Home Blinds & Floors provides custom window treatments, expert advice, and in-home service to homes and businesses across the Delmarva Peninsula. While removing blinds can be a DIY project, our team is here to help you choose, install, or safely remove the best shades, shutters, or blinds for your space, from Rehoboth Beach to Easton. Schedule your free consultation today to see how we can transform your windows.

.avif)